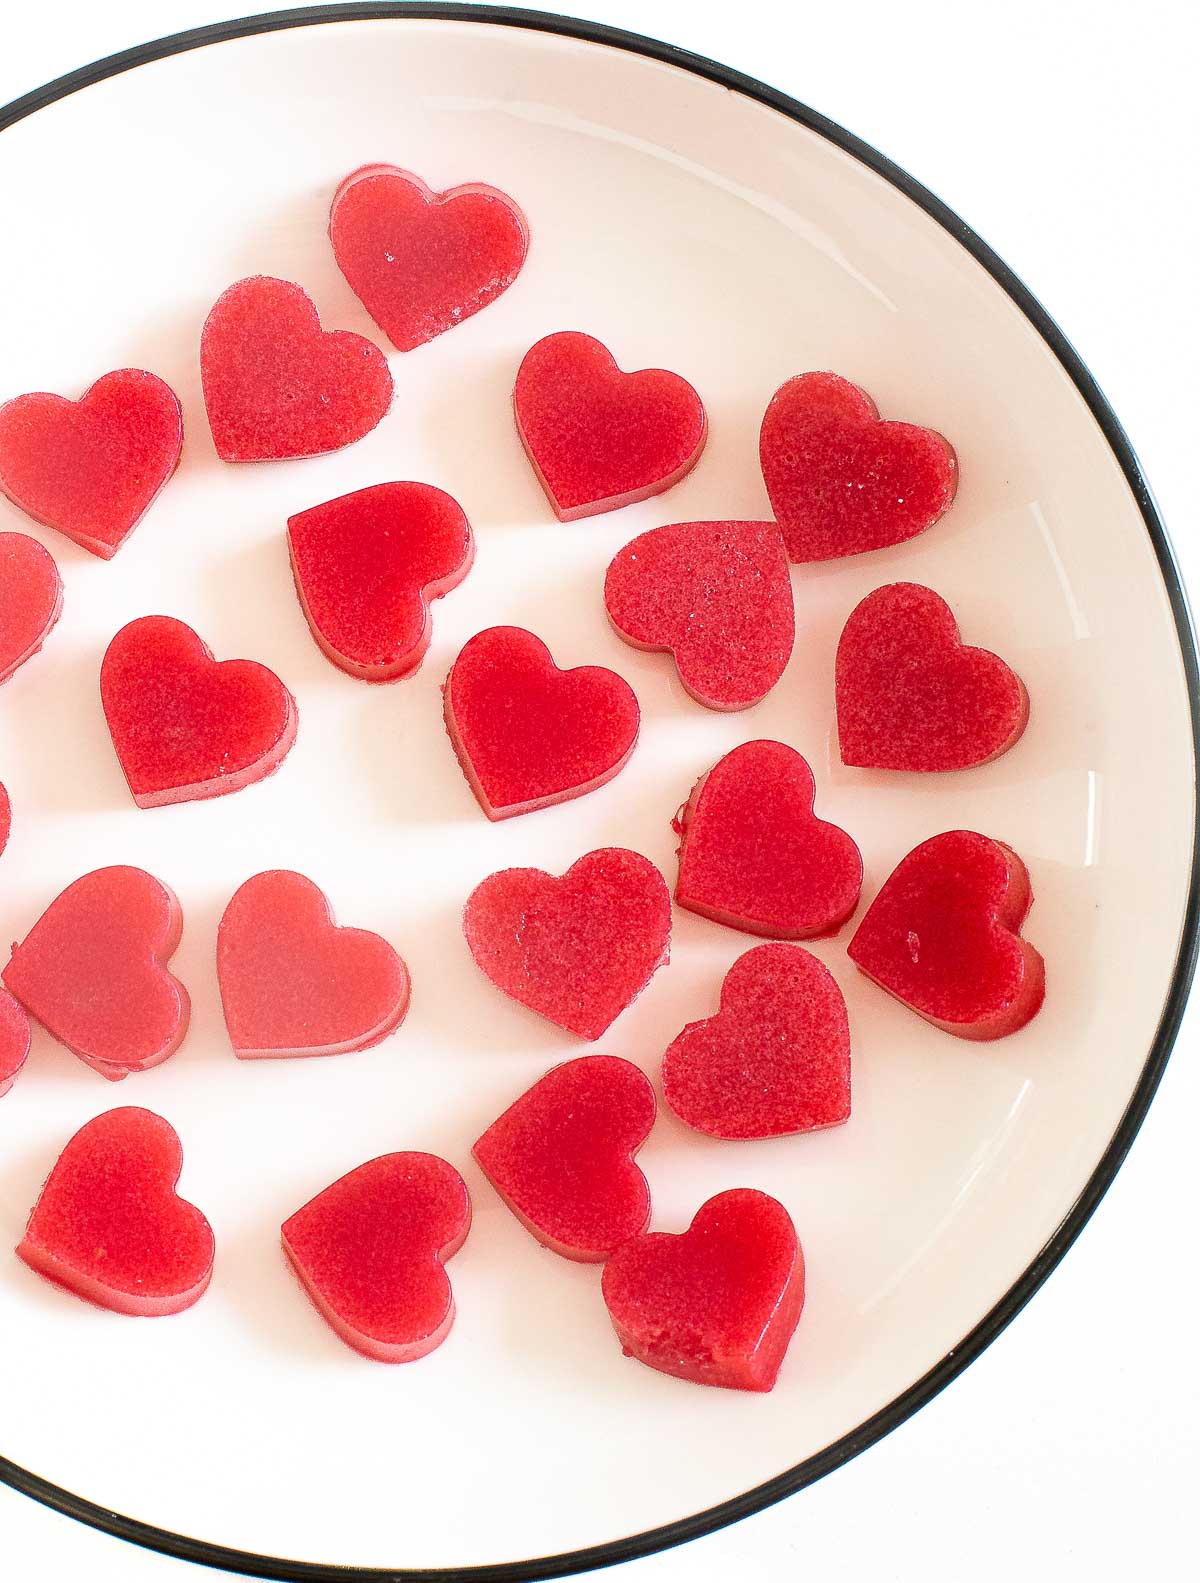
These 4 Ingredient Raspberry Gummies are about to become your new favorite homemade treat! Made with just four simple ingredients and prepped in only 10 minutes, they’re fresh, fruity, and way easier than you’d think. A fun, feel-good snack that kids love and parents feel great about making.
One of my favorite parts about making homemade gummies is letting my kids help fill the molds. They love using droppers to add the raspberry mixture, and it somehow turns the whole process into a fun little kitchen activity instead of just another recipe to prep.
I usually reach for my heart-shaped molds around Valentine’s Day because they’re just so cute, but gummy bear molds work just as well and are always a hit. Honestly, watching how excited they get makes these gummies even sweeter to make.
 Kelley’s Tips
Before You Get Started
- Use Fresh Raspberries. Fresh berries give the brightest flavor and best texture. If using frozen, thaw completely and drain off excess liquid first.
- Strain for Smooth Gummies. Pushing the blended raspberries through a sieve removes the seeds and gives you a smooth gummy texture.
- Whisk the Gelatin In Well. Make sure the gelatin is fully dissolved while heating, the mixture will thin slightly when it’s ready. Undissolved gelatin can cause grainy gummies.
- Work Quickly When Filling Molds. The mixture can start setting as it cools, so pour into molds right away.
- Chill Until Fully Set. Give the gummies enough time to firm up in the fridge before removing them from the molds for clean, perfect shapes.
- If you don’t have fresh fruit you can use fruit juice instead! We’ve made these gummies with orange juice, apple juice and cranberry juice! Basically whatever juice we have in the fridge!

Ingredients for Gummies
- Fresh Raspberries – The star of the recipe, providing natural sweetness, bright flavor, and that beautiful ruby color. I’ve made this recipe with fresh strawberries as well and it works great!
- Lemon Juice – Adds a fresh pop of acidity that balances the sweetness and helps the raspberry flavor shine.
- Gelatin Powder – Helps the gummies set with that classic chewy texture. Be sure it’s fully dissolved for smooth results. I recommend using grass-fed gelatin for a cleaner, higher-quality source that dissolves smoothly and adds a boost of natural collagen and amino acids.
- Honey or Maple Syrup – Lightly sweetens the gummies. I’ve used both maple syrup and honey in these!

How to Make 4 Ingredient Raspberry Gummies
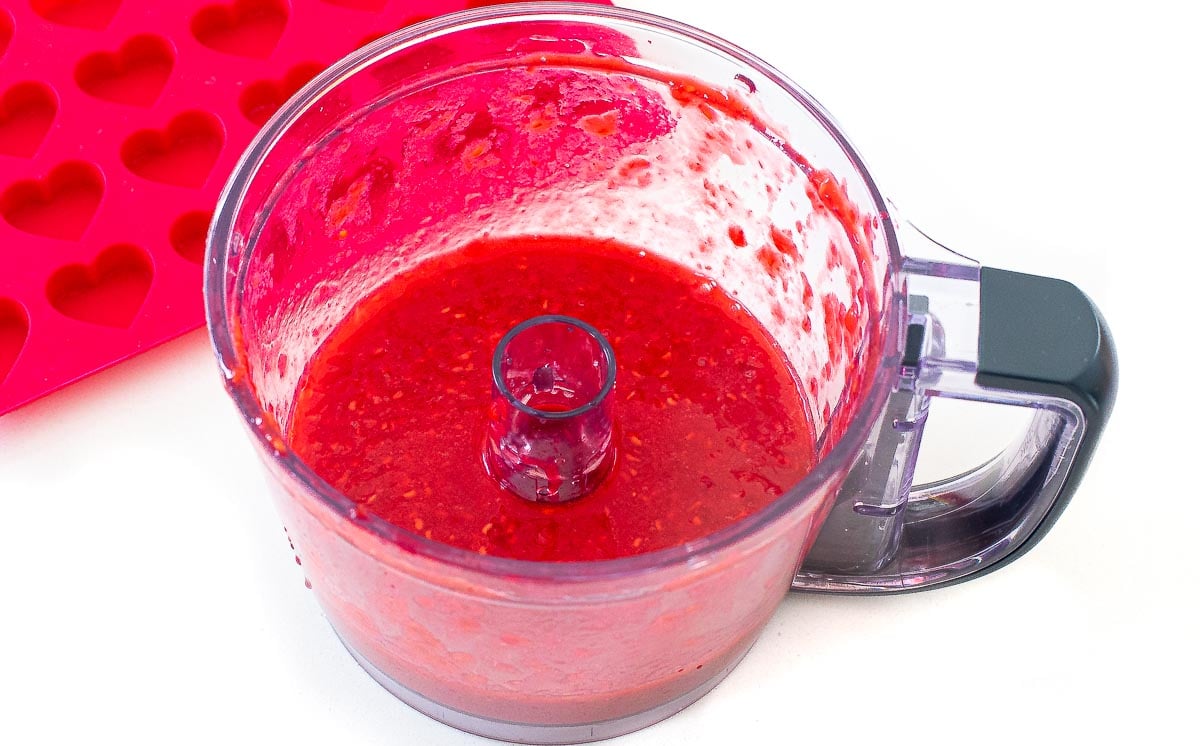
- Blend: Add raspberries and lemon juice to a food processor or blender. Pulse for 30-60 seconds or until the raspberries are blended.
- Strain: Pour the raspberry mixture through a sieve to remove the seeds.

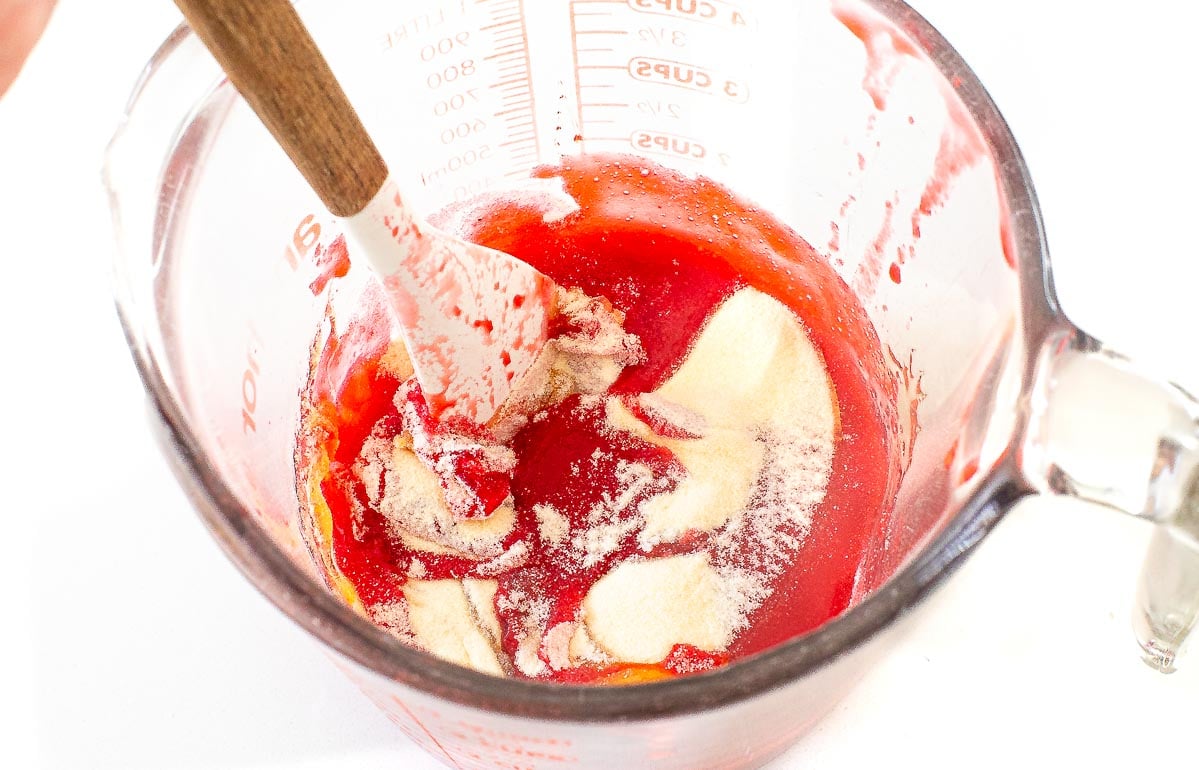
- Simmer: Stir in honey and gelatin. Transfer the raspberry mixture to a saucepan and bring to a gentle simmer, stirring until the gelatin is fully dissolved and the mixture smooths out.
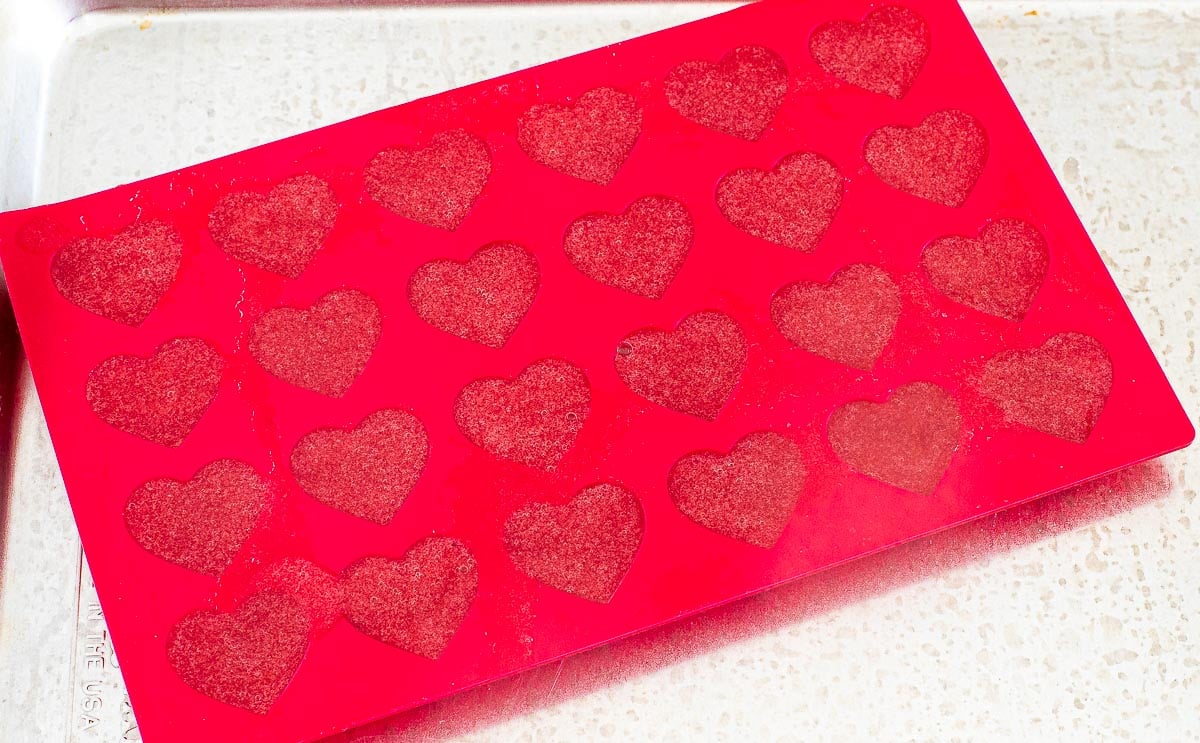
- Add Mixture to Molds and Chill: Transfer the mixture to molds; droppers work especially well for clean, easy filling. Refrigerate for about 1 hour to set, or freeze for 30 minutes to speed things up. Store gummies in an airtight container in the fridge for up to a week (though they never last that long in our house!).

More Healthy Snacks to Try
Save this Recipe
Enter your email to get it straight in your inbox! Plus, receive new recipes weekly!

4 Ingredient Raspberry Gummies
Ingredients
- 12 ounces fresh raspberries
- 1/2 medium lemon, juiced
- 2 tbsp grass fed gelatin powder
- 1 tbsp honey or maple syrup
Instructions
- Add raspberries and lemon juice to a food processor or blender. Pulse for 30-60 seconds or until the raspberries are blended.
- Pour the raspberry mixture through a sieve to remove the seeds. Stir in honey and gelatin.
- Transfer the raspberry mixture to a saucepan and bring to a simmer, stirring frequently. Continue to stir until gelatin is fully dissolved / smooth. You can tell when the gelatin is dissolved because the mixture will thin out a bit.
- Pour the raspberry mixture into molds. My kids love to use droppers to fill these up. I love using the heart mold for Valentine's Day. However you can use these gummy bear molds as well!
- Store in the fridge for 1 hour to set. You can speed the process along and pop them in the freezer for 30 minutes. Store in an airtight container in the fridge for up to a week. These never last longer than an hour in our house. Our kids love them!
Notes
- Use Fresh Raspberries: Fresh berries give the brightest flavor and best texture. If using frozen, thaw completely and drain off excess liquid first.
- Work Quickly When Filling Molds: The mixture can start setting as it cools, so pour into molds right away.
- Chill Until Fully Set: Give the gummies enough time to firm up in the fridge before removing them from the molds for clean, perfect shapes.
Nutrition Information
Equipment

Did You Make This?
I’d love to hear your feedback! Leave a review and make sure to share your pictures on social media! Don’t forget to follow @thechefsavvy.

Tara
Made these the other day with my kids and they were a big hit! Next time I will make a bigger batch