Homemade Cheez It’s are a lovely version of the classic snack, offering a fresh, cheesy flavor with a satisfying crunch! Crafted with real cheddar cheese, these flavorful bite-sized crackers are perfect for snacking!
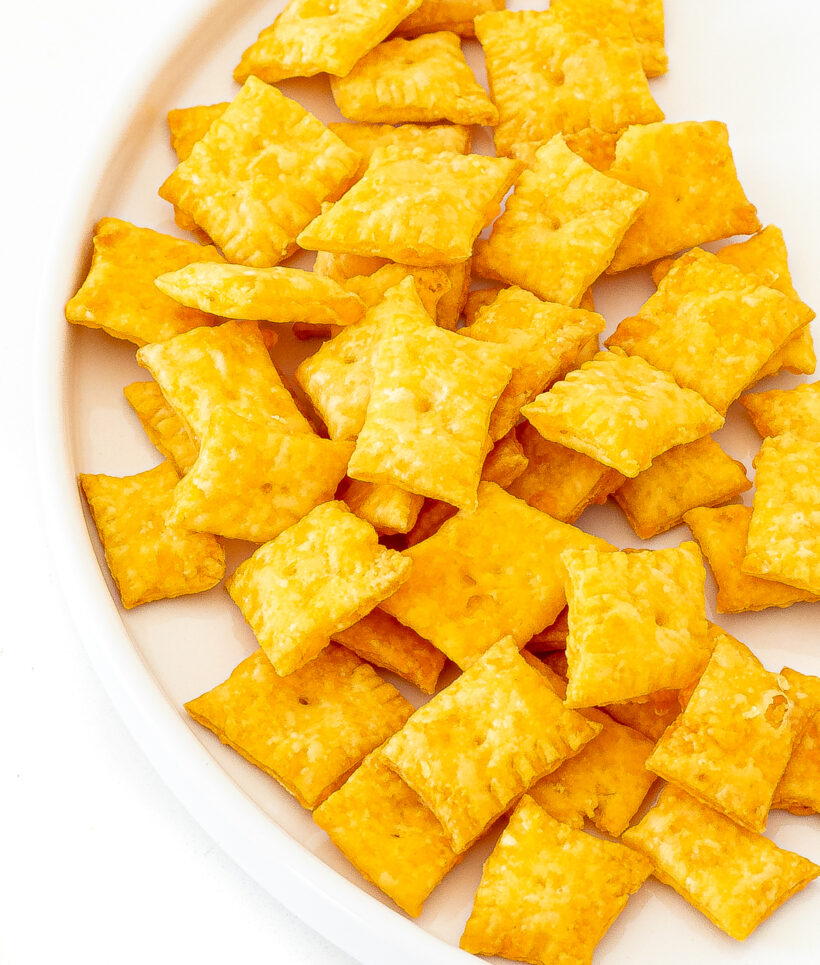
The Best Homemade Cheez It’s Recipe
Can you believe that making homemade cheez it’s only takes 5 ingredients? Seriously! Making these classic snacks at home is simple, and so delicious.
If you want to know exactly what is going into your snacks, making them homemade is the best way. And everyone in the family will love these cheesy snacks! Adults and kids alike!
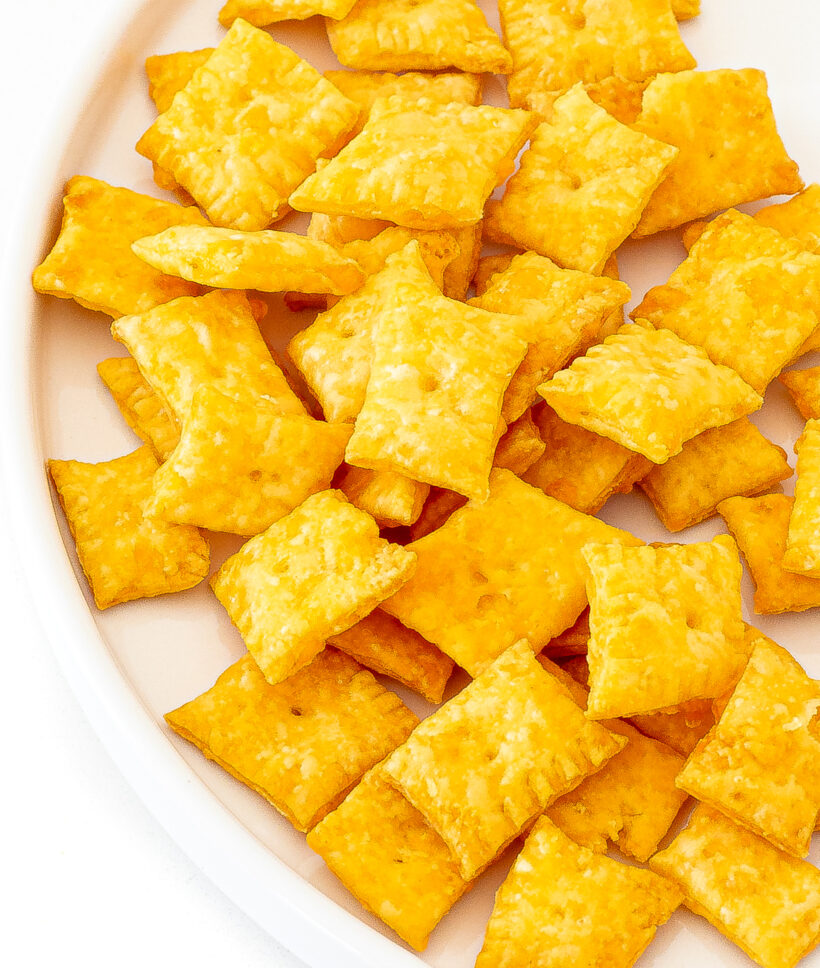
These are just as tasty, if not more so, than classic store bought cheez it’s. Once you make them, you might not ever go back! The fresh cheddar adds so much flavor, and they are perfectly flaky and crispy!
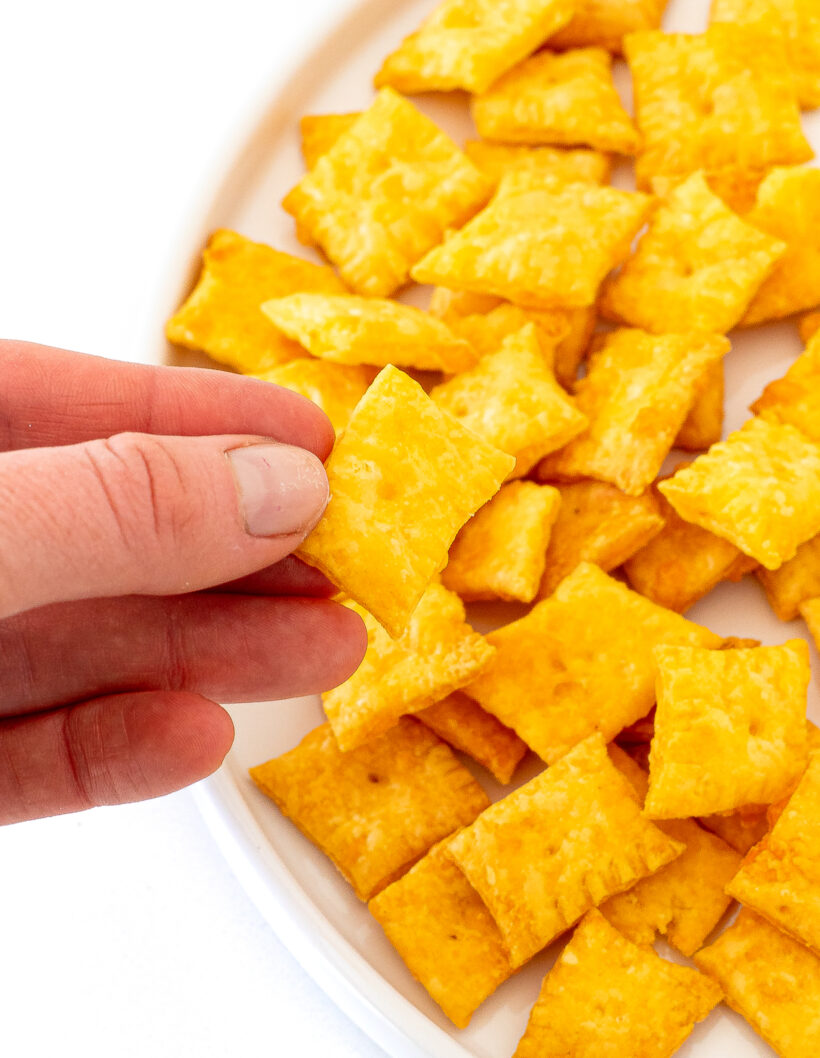
Ingredients Needed
- Butter: You will want the butter to be softened to room temperature, but not melted!
- Sharp Cheddar Cheese: Use a block of your favorite sharp cheddar cheese and shred it freshly yourself. This will ensure that the cheese melts seamlessly into the dough!
- Salt: For an extra savory snack!
- All Purpose Flour: I used regular, all-purpose flour here. If you need gluten-free cheez it’s, use a cup for cup replacement flour!
- Cold Milk or Water: You can choose to use cold milk or water here. Milk will lend a richer taste.
How to Make Homemade Cheeze It’s
Make The Dough:
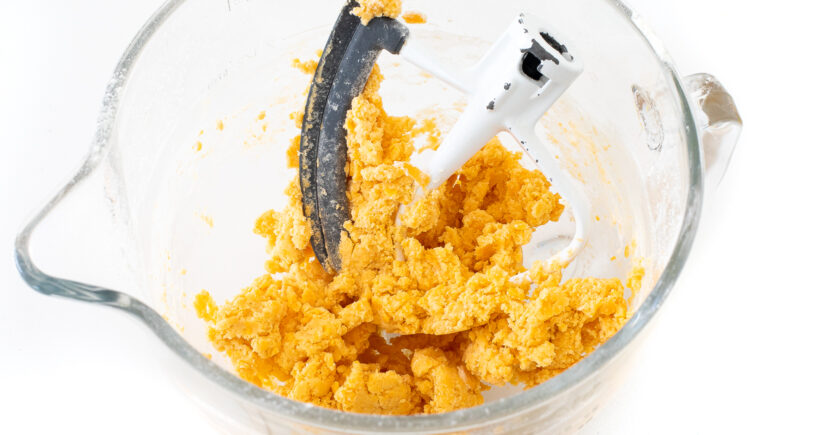
- Add the butter, shredded cheese, and salt to a stand mixer with the paddle attachment. Mix for one minute then slowly start to add in the flour. The mixture will look dry.
- Add Liquid: Add in the cold milk or water then mix for another minute or so or until the dough starts to come together.
Chill the dough (One Hour)
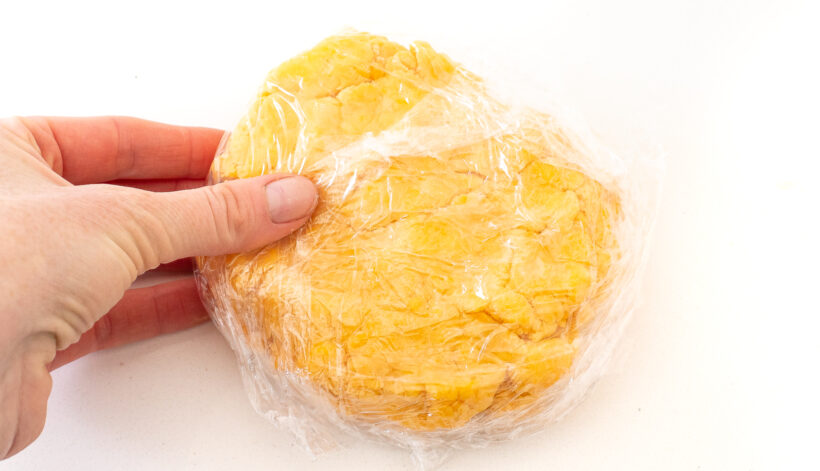
- Remove the dough from the stand mixer and form it into a disc. Wrap it in plastic wrap, then refrigerate for 1 hour.
Roll out dough and cut into squares
- Transfer the dough to a lightly floured surface. Cut it in half then working with one of the halves at a time, roll out into a rectangle that’s about 1/8 inch thick. The thinner the better, because these puff up in the oven.
- Using a pastry cutter or simply a knife, cut the rectangle into long strips then cut into 1-inch squares. Using a chop stick, poke a hole into the center of each cracker.
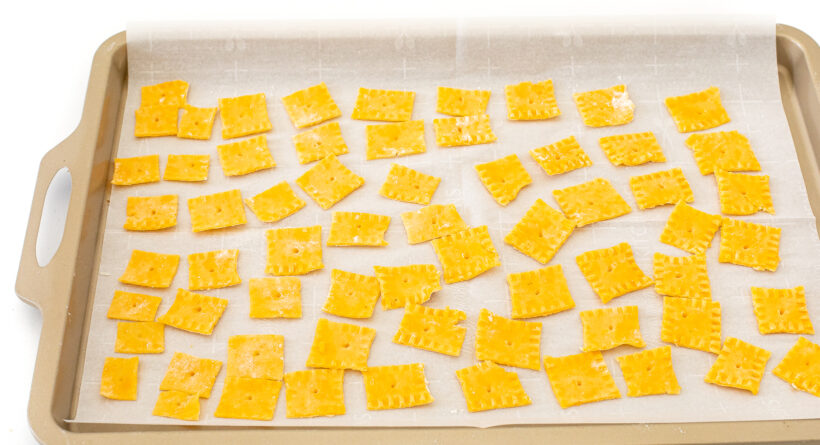
Bake until crispy!
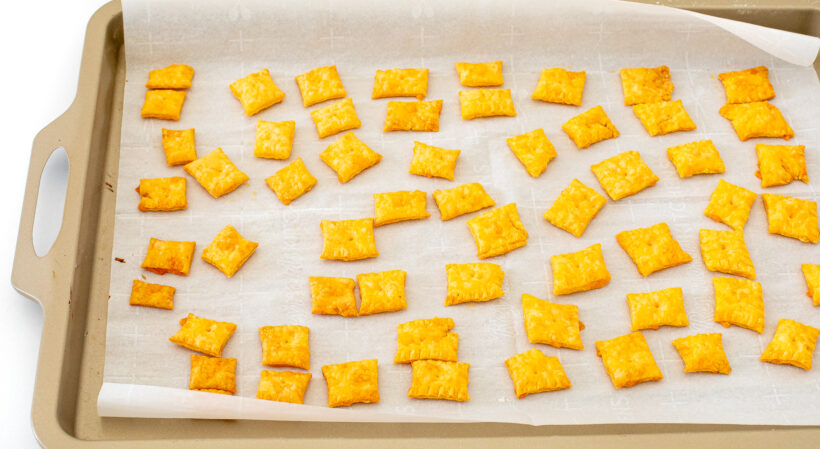
- Place in the oven and bake for 15 minutes or until they start to look golden brown. The darker they get, the crispier they will be.
Tips for Success
- Don’t skip the chill time! In order to get that crunchy, flaky texture, the dough needs to be cold before going into the oven!
- Use a fluted pastry cutter for the classic cheez its edges!
- If you want a sprinkle of coarse salt on the top of the crackers, add it before baking! Otherwise, the salt will not stick to the crackers.
Frequently Asked Questions
How should I serve homemade cheez it’s?
These cheesy snacks are perfectly good on their own whenever you need a salty snack! But, you can also serve them up on a charcuterie board with all your favorite cheese, crackers and fruits for your next get together. Or serve them with a spread of other snacks like chips and guac and homemade pretzel bites!
How do you store cheez it’s?
To store homemade cheez it’s, simply place in an airtight container at room temperature for up to 1 week!
More Homemade Snack Recipes To Try
Save this Recipe
Enter your email to get it straight in your inbox! Plus, receive new recipes weekly!

Homemade Cheez It’s
Ingredients
- 1/4 cup butter, softened
- 8 ounces sharp cheddar cheese, grated
- 3/4 tsp salt
- 1 cup all purpose flour
- 2 tbsp cold milk or water
Instructions
- Add the butter, shredded cheese and salt to a stand mixer with the paddle attachment.Mix for one minute then slowly start to add in the flour. The mixture will look dry.
- Add in the cold milk or water then mix for another minute or so or until the dough starts to come together.

- Remove the dough from the stand mixer and form it into a disc. Wrap it in plastic wrap then refrigerate for 1 hour.

- Preheat oven to 350 degrees. Line two baking sheets with parchment paper, set aside.Transfer the dough to a lightly floured work surface. Cut it in half then working with one half at a time roll out into a rectangle that's about 1/8 inch thick. The thinner the better because these puff up in the oven.
- Using a pastry cutter or simply a knife cut the rectangle into long strips then cut into 1-inch squares.Using a chop stick poke a hole into the center of each cracker.

- Place in the oven and bake for 15 minutes or until they start to look golden brown. The darker they get the crispier they will be.

- Remove from the oven and allow them to cool for a couple minutes on the baking sheet before enjoying!Store leftovers in an airtight container for up to 1 week!
Nutrition Information

Did You Make This?
I’d love to hear your feedback! Leave a review and make sure to share your pictures on social media! Don’t forget to follow @thechefsavvy.







Nathan
These didn’t last long, they were so good! I also like how there is just a couple ingredients and no preservatives!