Want a kid friendly dinner that is ready in under 20 minutes? Then try these Easy Pita Pizzas! So easy to customize them and kids love helping to make their own pita pizza combination.
Are you a pizza fan?! Then give my High Protein Pizza Muffins or Homemade Calzones a try!
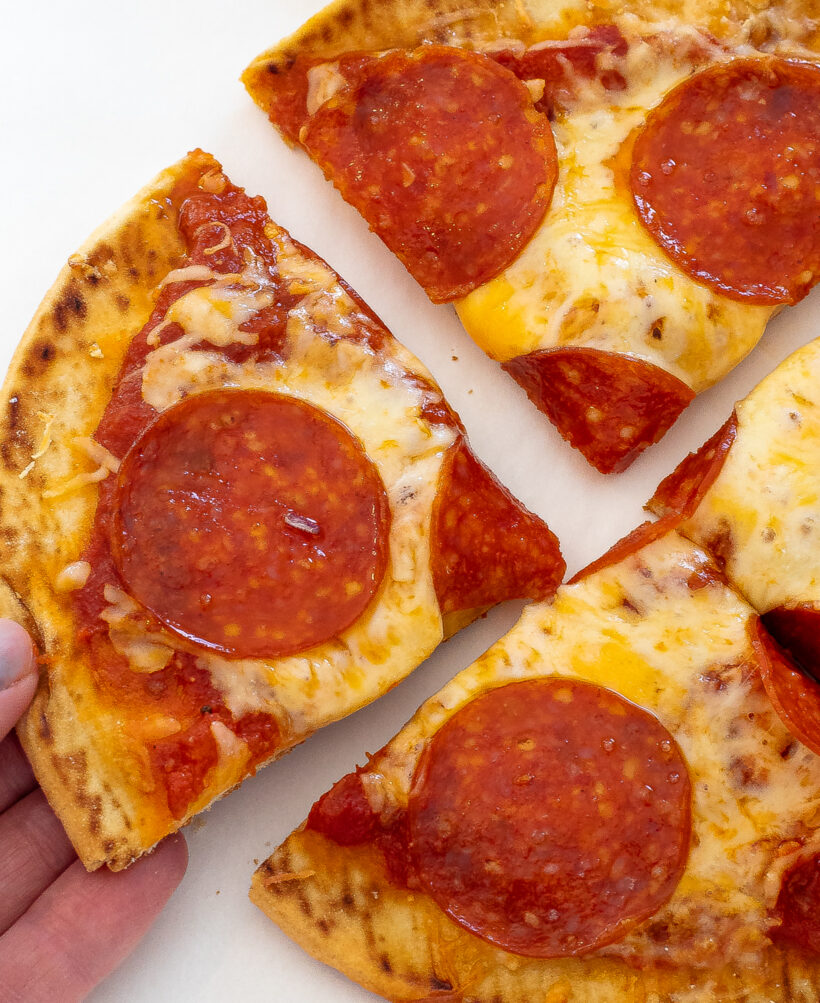
Easy Pita Pizza
In our house we eat pizza at least once a week! And sometimes when we are short on time and don’t have time to make homemade pizza we make these easy pita pizzas instead!
This is also a great recipe to get kids in the kitchen! I set my toddlers up with the toasted pitas and let them add their own sauce, cheese and their favorite topping!
Spend a couple extra minutes and make your own homemade pizza sauce or take the shortcut and use jared marinara like I did. Have fun picking your favorite toppings (we like to offer a toppings bar) see below for topping ideas!
Pita Pizza Ingredients
- Pitas: Whole wheat or regular pitas work! If you can’t find pita (my grocery store doesn’t always have it) then you can use mini naan bread instead.
- Marinara Sauce: You can make your own pizza sauce from canned tomatoes and herbs or you can buy a jared marinara! This is our favorite tomato sauce and what we used to make these pita pizzas.
- Shredded Mozzarella Cheese: I like to use whole milk mozzarella cheese for the most flavor. You can shred it yourself or buy pre-shredded cheese.
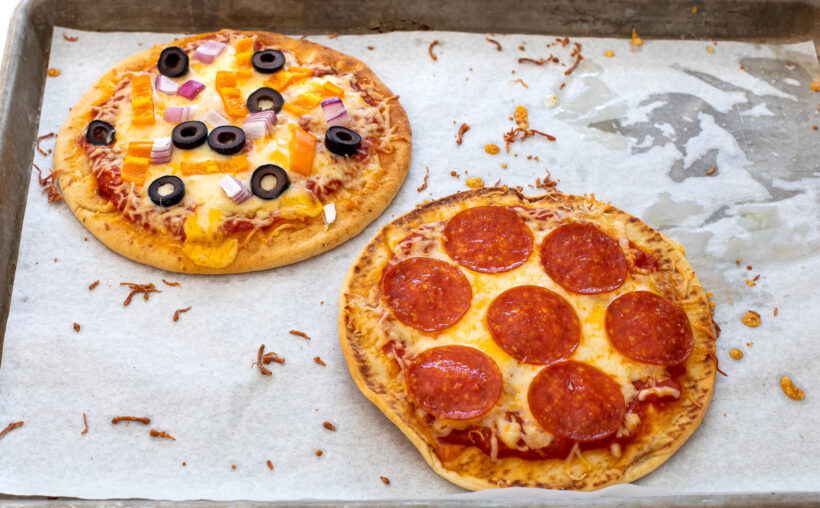
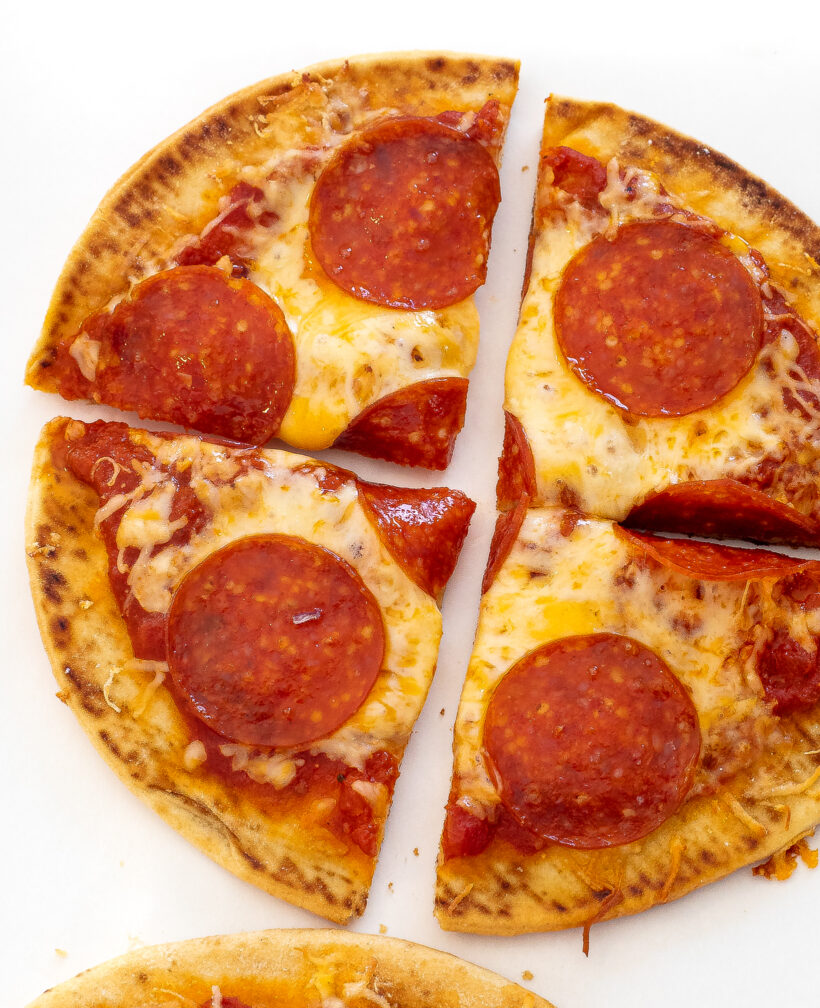
- Toppings: We used pepperoni, olives, bell peppers and onions. See below for more topping options!
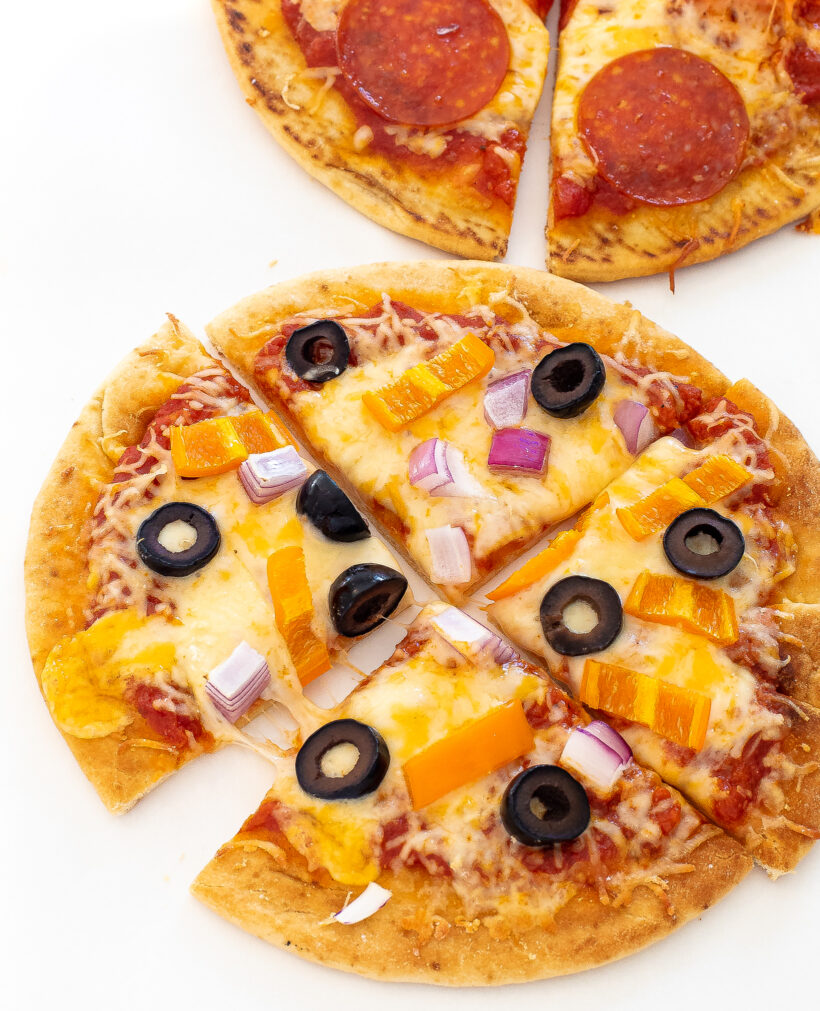
How to Make Pita Pizza
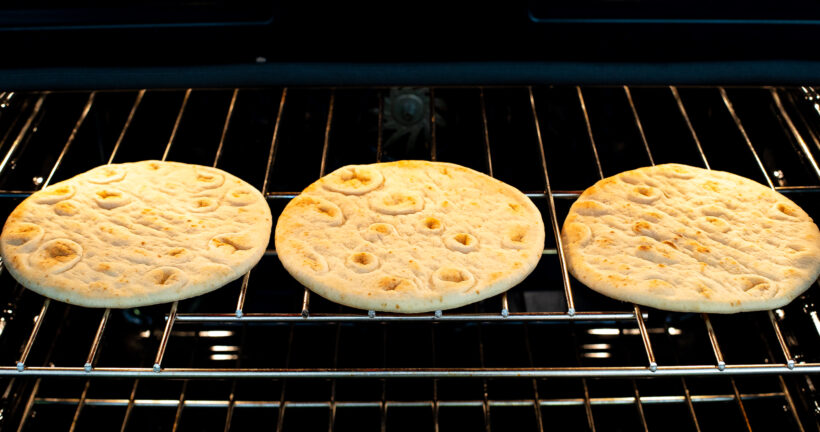
- Toast pitas: This is an important step for CRISPY pita pizzas! I like to broil the pizzas for 1-2 minutes on each side until they start to get a bit golden brown and crispy.
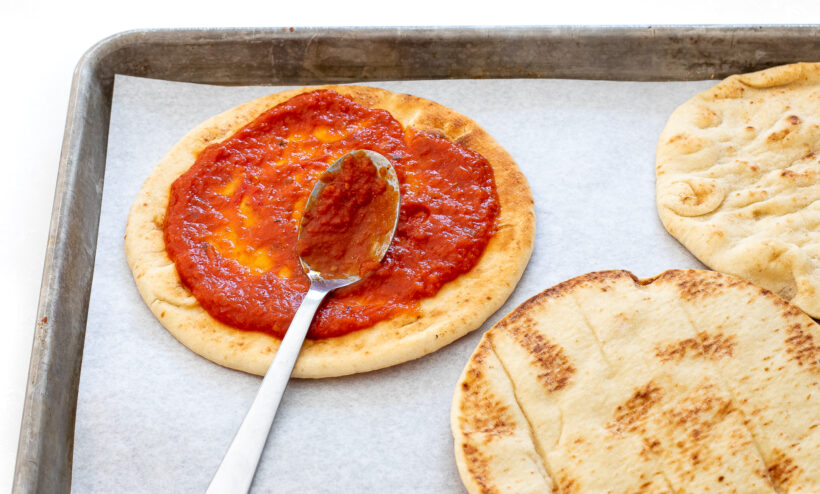
- Next prep your pizzas: Lay out the pitas on a baking sheet lined with parchment paper. Ladle about 2 tablespoons of marinara onto each pita and spread the sauce until there is a little space for a crust.
- Add Toppings: Top with mozzarella cheese (1/3 cup for each pizza) and add your desired toppings.
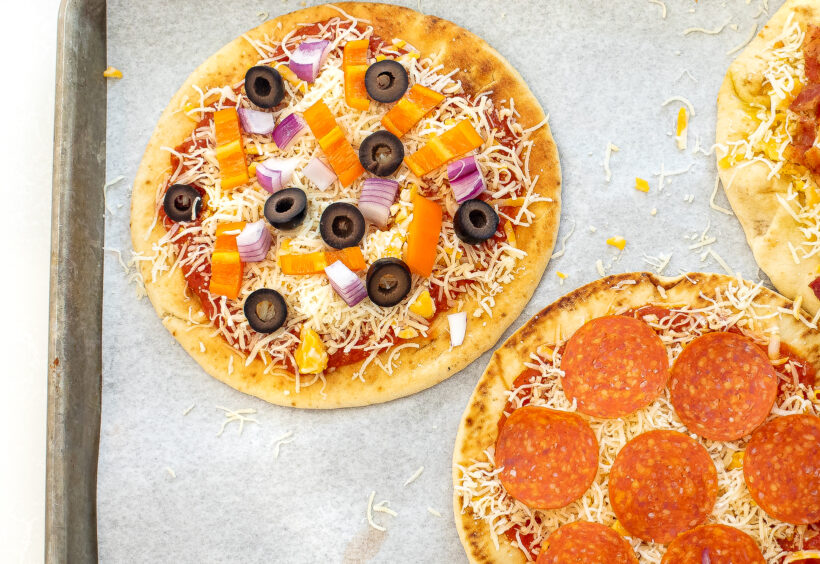
- Cook pizza: Bake for 8-10 minutes or until golden brown.
Pita Pizza Toppings
- Olives
- Artichokes
- Caramelized onions
- Pepperoni
- Bacon
- Sausage
- Bell peppers
- Roasted red peppers
- Chicken
- Ground beef
- Tomatoes
Tips and Variations
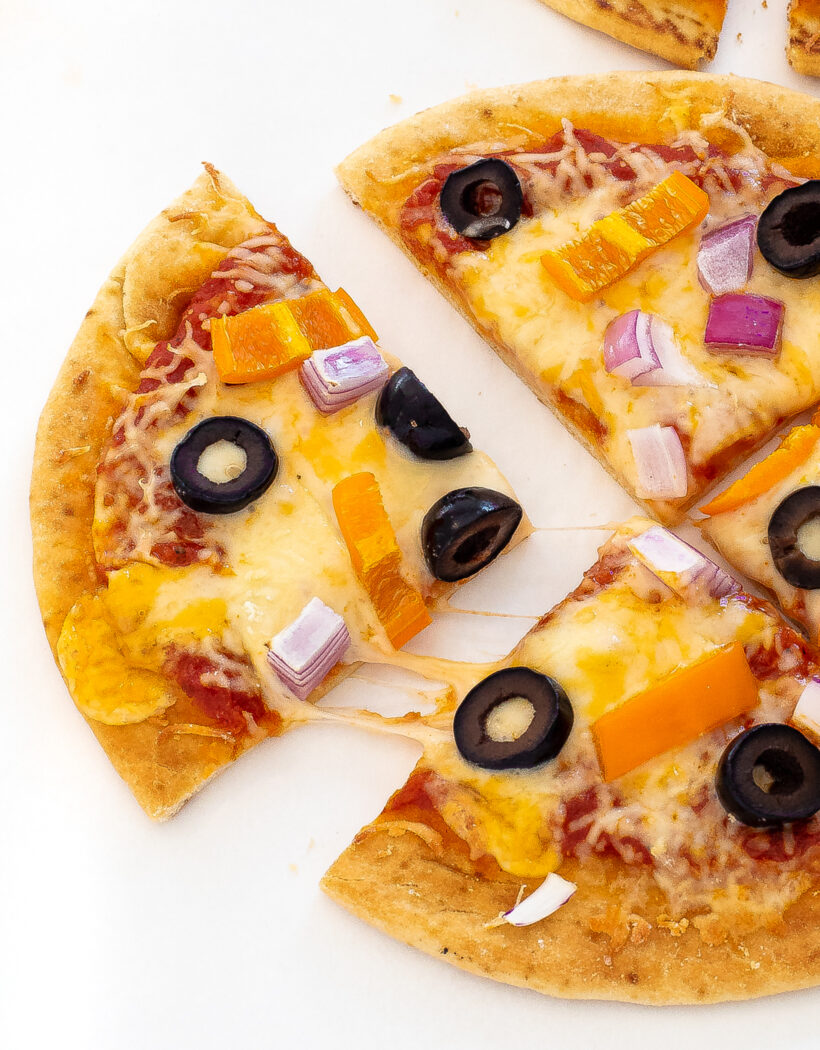
- This recipe is extremely versatile and you can make any kind of pizza you want! Make it a veggie pizza by topping it with green peppers, onions, mushrooms and olives. Or you can make it a BBQ chicken pizza by replacing the marinara sauce with BBQ sauce and adding some chicken on top!
- Get creative with the cheeses: Feta, cheddar, pepper jack, Parmesan Cheese and monetary jack are all great choices!
- The pitas that you buy at the store are already baked, so make sure you don’t over bake the pizza. They should come out crispy but not burnt!
- To make this recipe gluten free, buy the gluten free pitas at the store!
- Make this a sweet pizza and top with peanut butter, marshmallows, chocolate chips, diced fruit and melted chocolate for drizzling.
What To Serve With Pita Pizzas
More Recipes to Try
Save this Recipe
Enter your email to get it straight in your inbox! Plus, receive new recipes weekly!

Pita Pizza
Ingredients
- 2 pitas
- 4 tbsp marinara
- 2/3 cup shredded mozzarella cheese or shredded cheddar
Optional Toppings
- pepperoni
- olives
- red onion, diced
- bell peppers, diced
Instructions
- Preheat oven to BROIL.Place pitas directly on the oven rack and cook for 1-2 minutes on each side making sure to keep an eye on them so they don't get too golden brown.Remove them from the oven and preheat the oven to 400 degrees.

- Place the toasted pitas on a baking sheet lined with parchment paper.Ladle 2 tbsp of sauce onto each pita, leaving room for the crust.

- Top with 1/3 cup cheese on each pita and your favorite toppings.

- Bake for 8-10 minute until the cheese is melted and the pitas are golden brown and crispy.Serve immediately and enjoy!

Nutrition Information

Did You Make This?
I’d love to hear your feedback! Leave a review and make sure to share your pictures on social media! Don’t forget to follow @thechefsavvy.




Tracy
My kids loved these pita pizzas! Will be making again for easy dinners