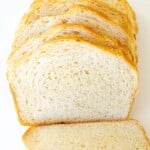
Once you try homemade Sourdough Sandwich Bread, you may never go back to store-bought! This easy, same-day sourdough bread recipe makes two beautiful loaves with a soft, fluffy center, golden crust, and just a hint of sourdough tang. Best of all, it’s ready in under 4 hours! No overnight rise or lengthy fermentation required. Perfect for sandwiches, morning toast, or enjoying a warm slice with butter!
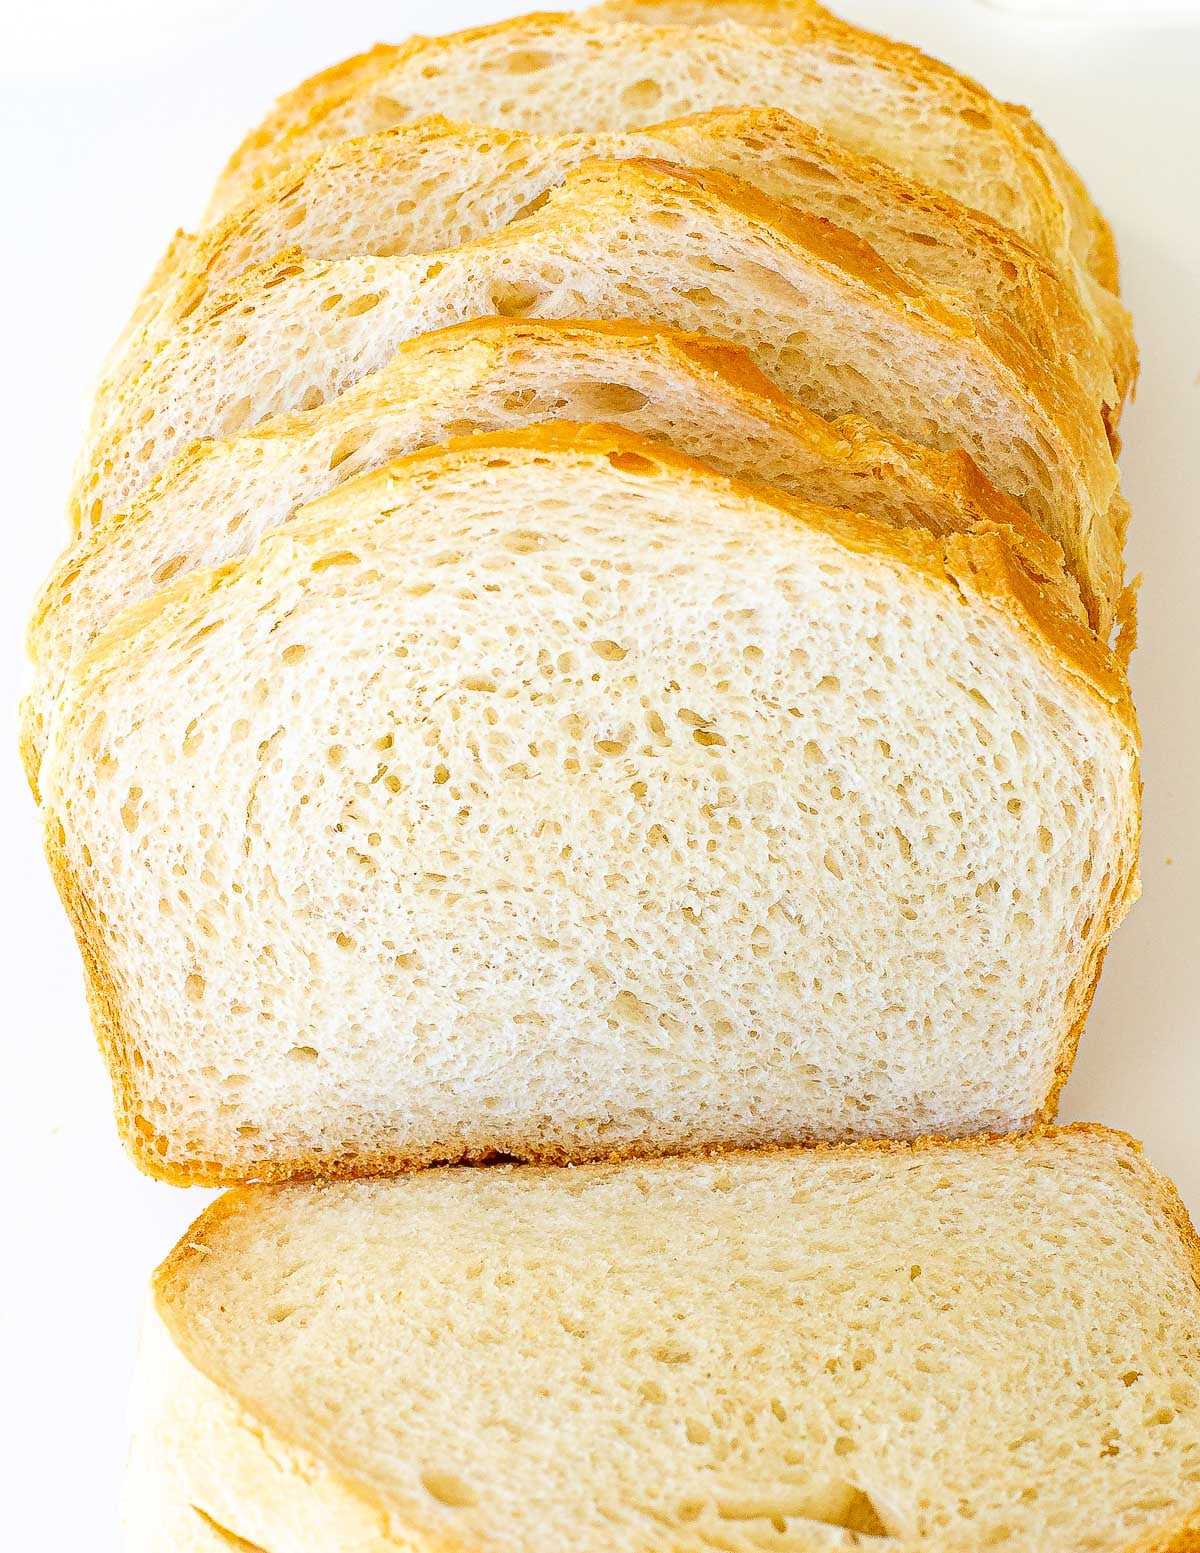
Table of Contents
 Kelley’s Tips
Tips for the Best Sourdough Bread
- Use an active sourdough starter. For the best flavor and rise, use a bubbly, recently fed starter. Since this recipe also uses yeast, it’s a little more forgiving than traditional sourdough bread.
- Measure flour correctly. Spoon flour into your measuring cup and level it off, or use a kitchen scale for the most accurate results. Too much flour can make the bread dry and dense.
- Don’t skip the dough rest. Letting the dough rest for 10 minutes before kneading gives the flour time to absorb the water and makes the dough easier to work with.
- Add butter at the right time. Wait until the dough has been kneaded for 5 minutes before adding the softened butter. This helps develop the gluten for a soft, tender loaf.
- Watch the dough, not the clock. Rising times can vary depending on the temperature of your kitchen. Look for dough that’s noticeably puffy during the first rise and doubled in size during the second.
- Roll the dough tightly. When shaping your loaves, roll the dough snugly to prevent large air pockets and create even slices that are perfect for sandwiches.
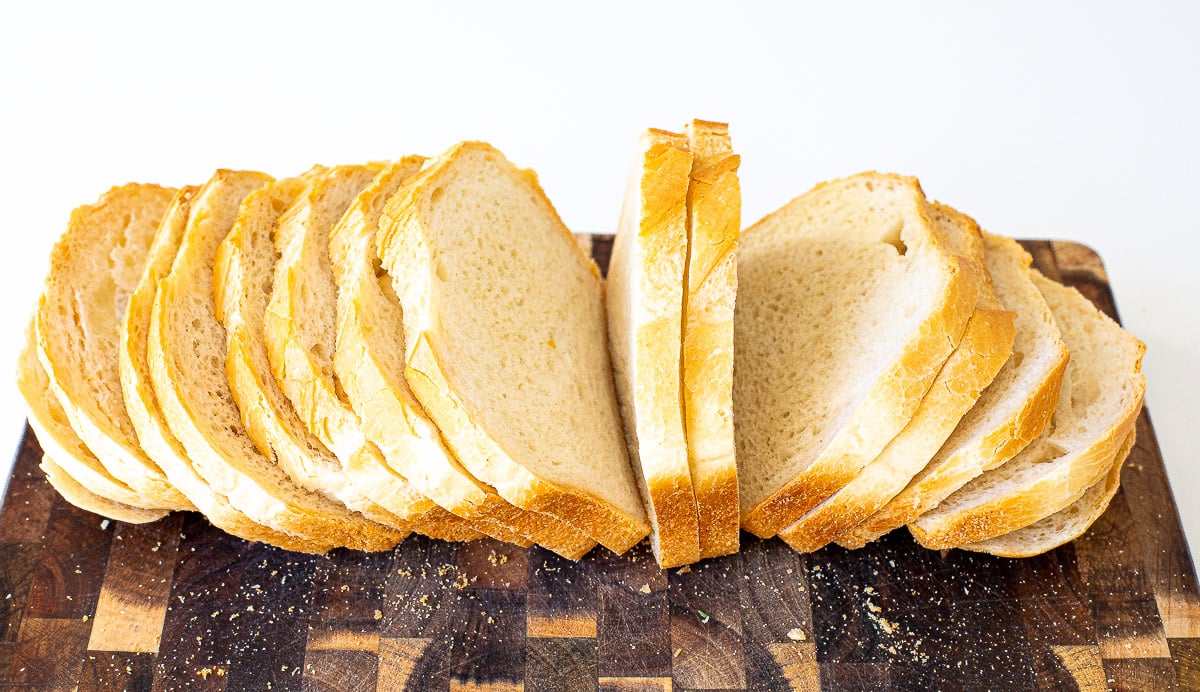
- Let it cool completely. I know it’s tempting to slice into warm bread, but cutting too soon can leave the center gummy. Cooling allows the crumb to set for the best texture.

Ingredients for Making Sourdough Bread
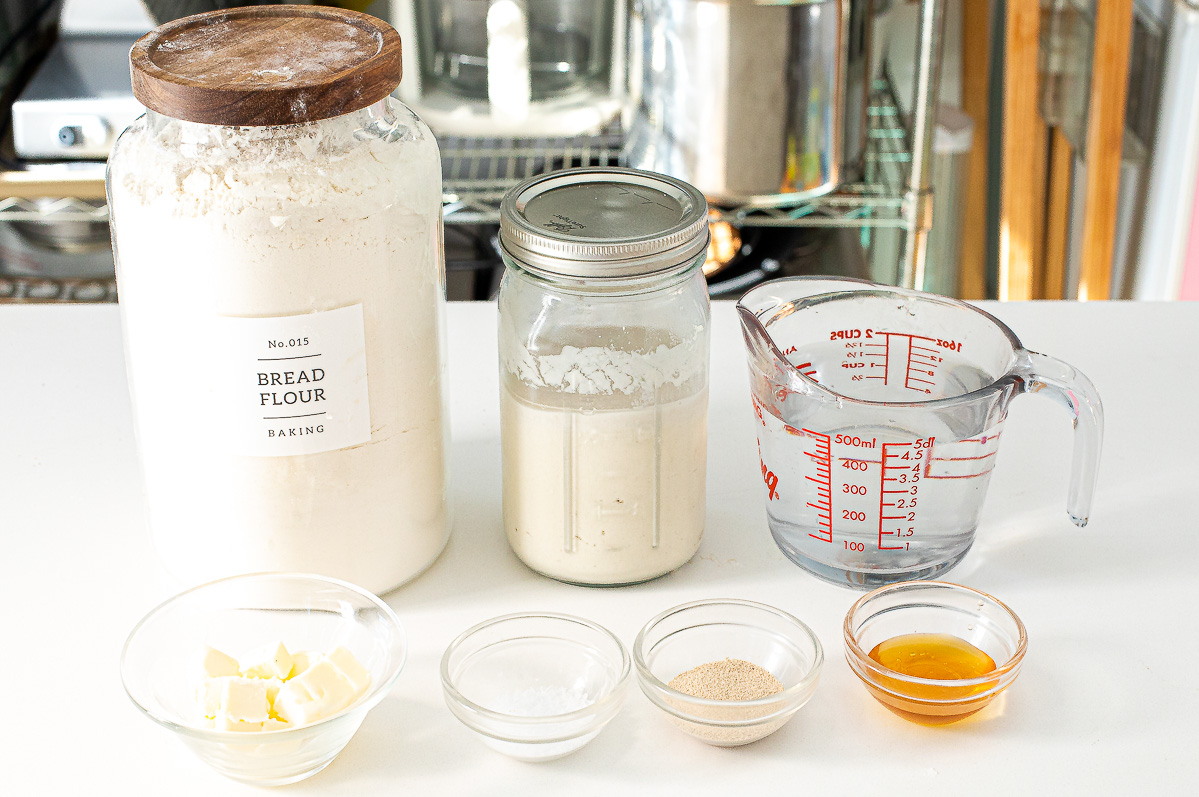
- Water: Use lukewarm water, around 100–110°F. Avoid using water that’s too hot, as it can kill the yeast and prevent the dough from rising.
- Yeast: Both active dry and instant yeast work in this recipe! Adding a little commercial yeast speeds up the rising process, allowing you to make homemade sourdough sandwich bread in just a few hours instead of waiting overnight.
- Sourdough Starter: This gives the bread its signature sourdough flavor and a subtle tang. You can use either active sourdough starter or sourdough discard since the added yeast helps the bread rise. I recommend using a 100% hydration starter for the best results.
- Honey: Adds just the right amount of sweetness and helps the crust turn beautifully golden brown. You can substitute granulated sugar if needed.
- Bread Flour: I prefer bread flour because its higher protein content helps create a soft, fluffy loaf with enough structure to hold up to sandwiches. All-purpose flour can also be used, but the texture may be slightly different.
- Kosher Salt: Enhances the flavor of the bread and strengthens the gluten structure. If substituting table salt, measure by weight for the most accurate results.
- Unsalted Butter: The secret to a soft, tender sandwich bread! Butter adds richness and keeps the crumb from becoming too chewy. Make sure it’s softened to room temperature so it incorporates easily into the dough.
How to Make Sourdough Sandwich Bread
- Using a stand mixer with the dough hook, mix water, yeast, honey, sourdough starter, and bread flour on low for 2 minutes, until a shaggy dough forms. Let rest for 10 minutes.
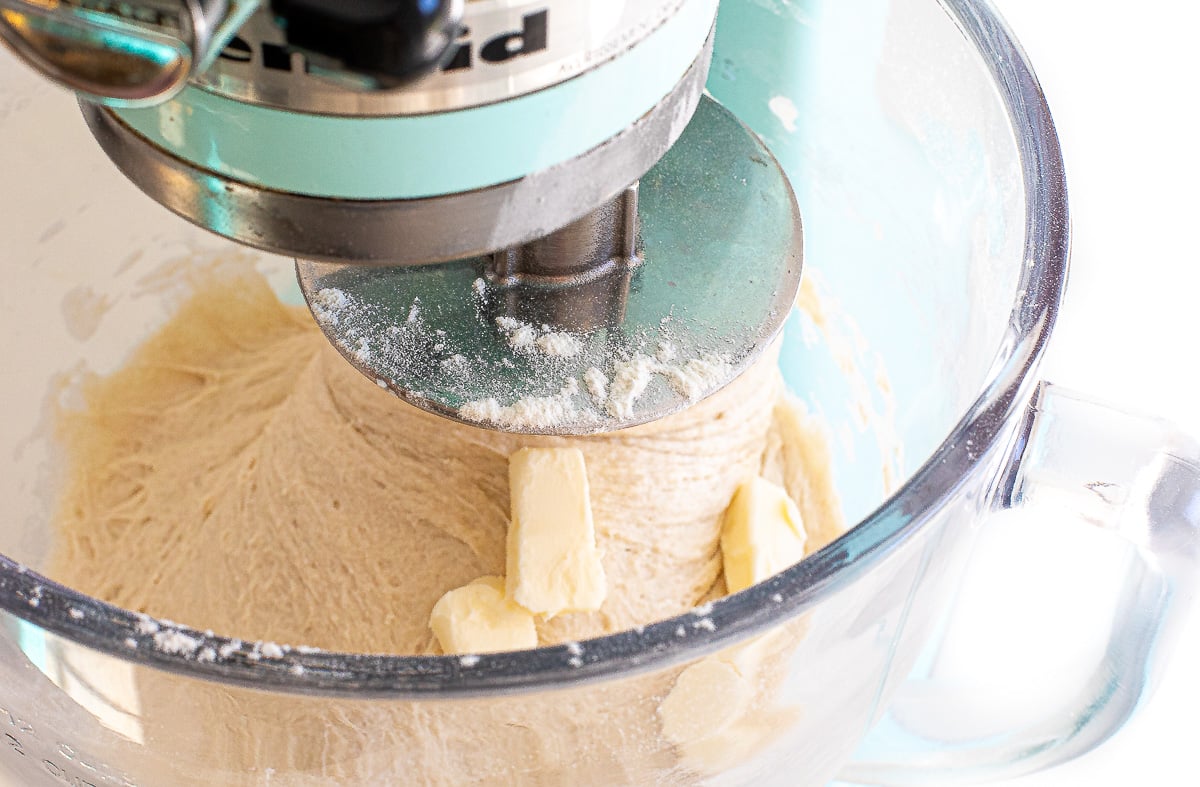
- Add salt and knead on low speed for 5 minutes. Add softened butter and continue mixing until fully incorporated and the dough is smooth and elastic.
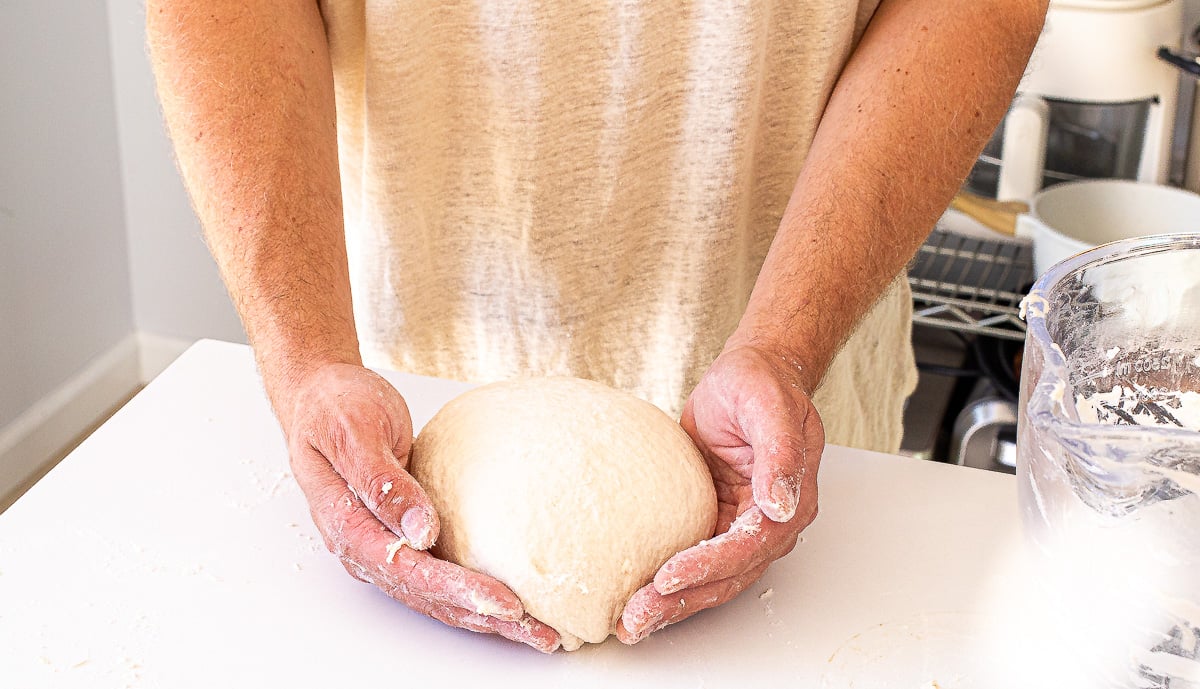
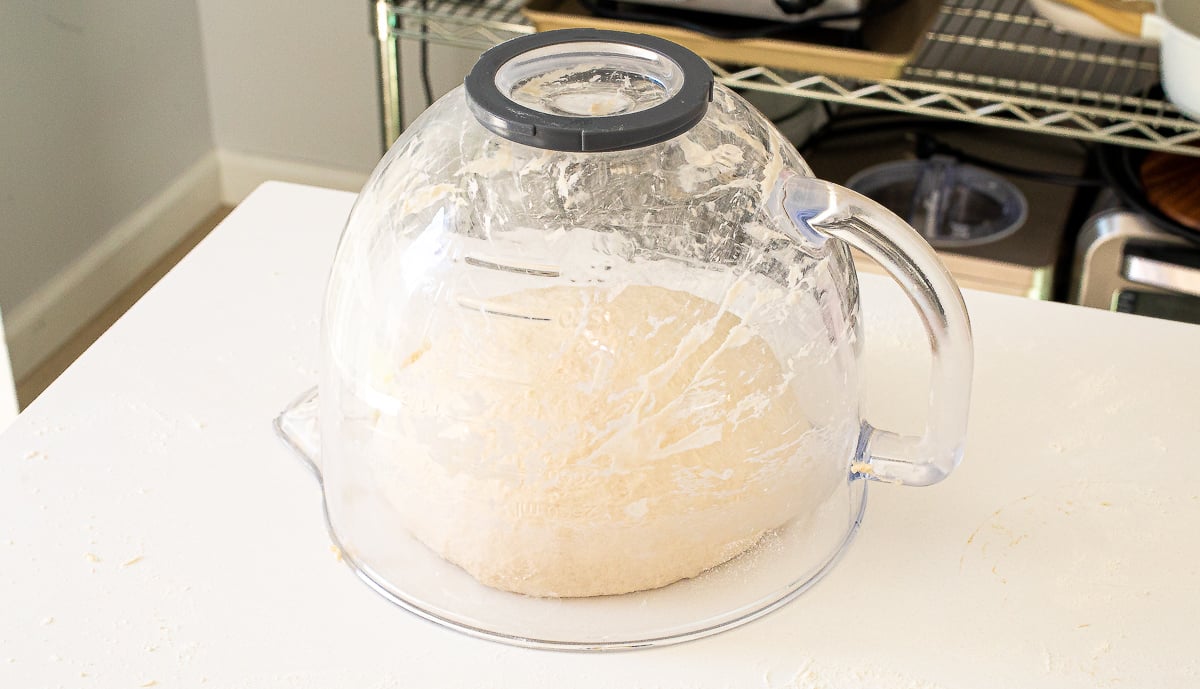
- Shape dough into a smooth ball on a lightly floured surface. Cover with the mixing bowl and let rise for 1 hour, or until puffy.
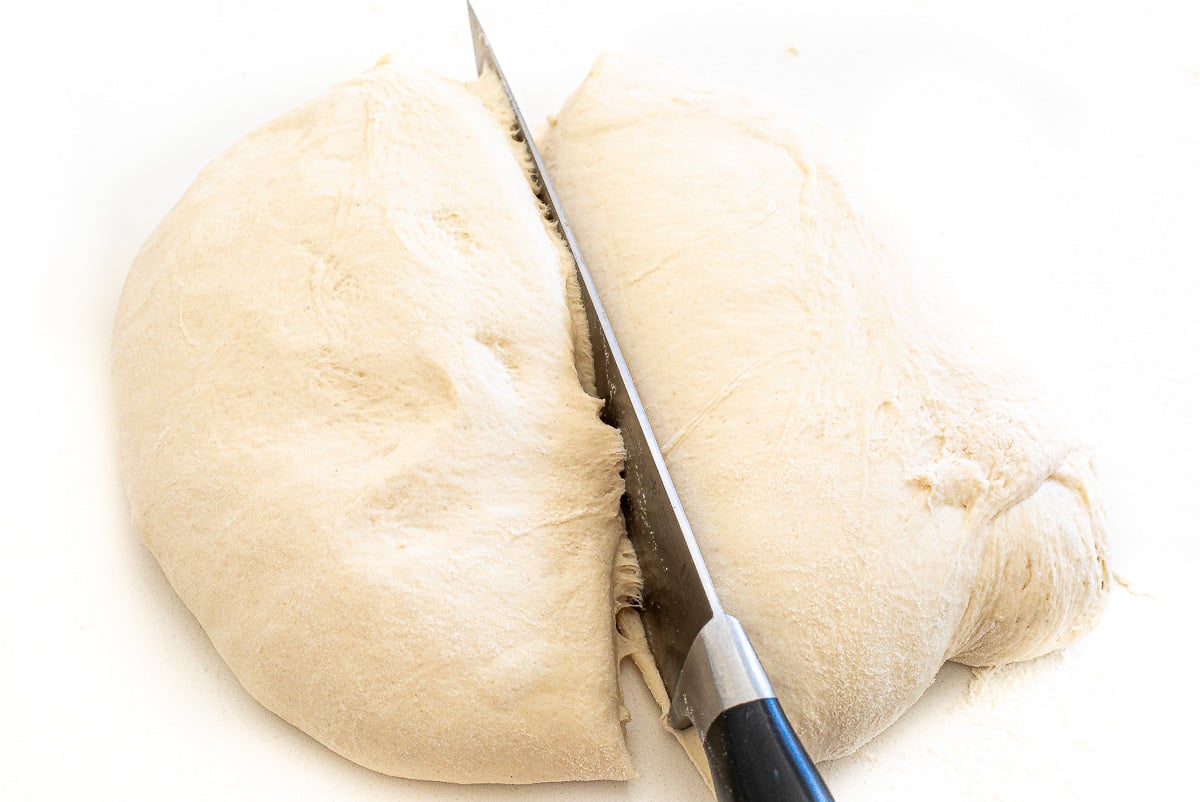
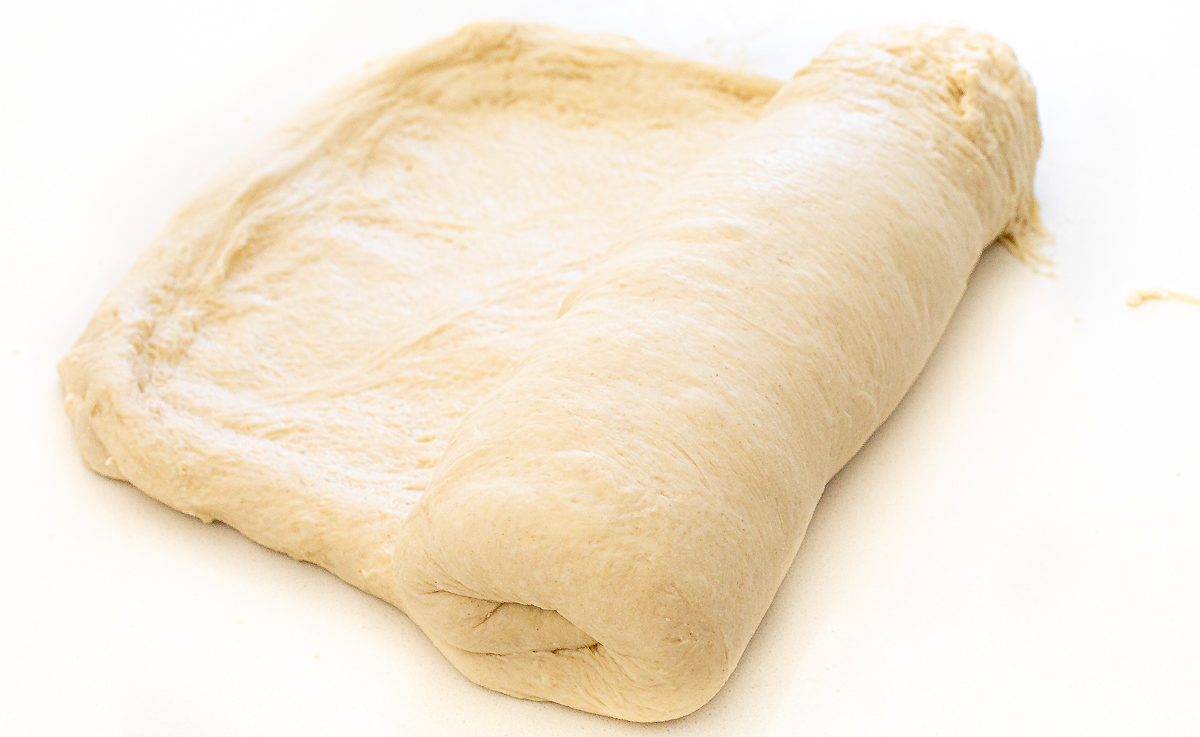
- Divide dough in half and roll each piece into an 8×12-inch rectangle. Starting at the short end, roll tightly into a log and pinch the seam closed. Place seam-side down in greased loaf pans, cover, and let rise in a warm place for 45–60 minutes, or until doubled in size.
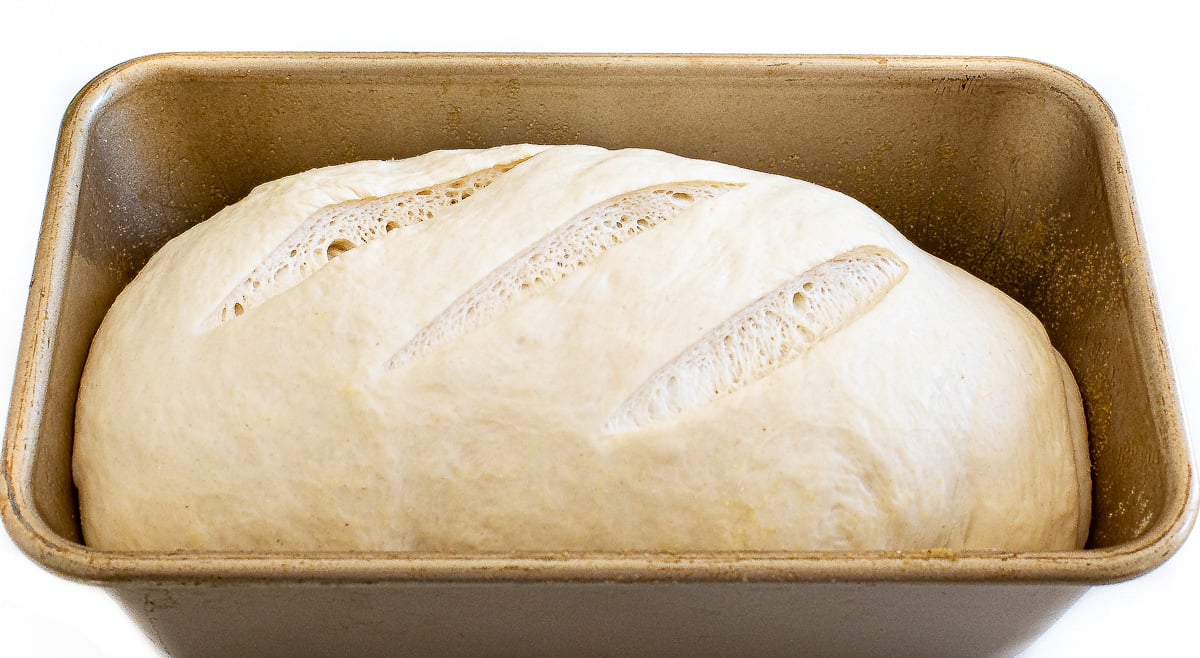
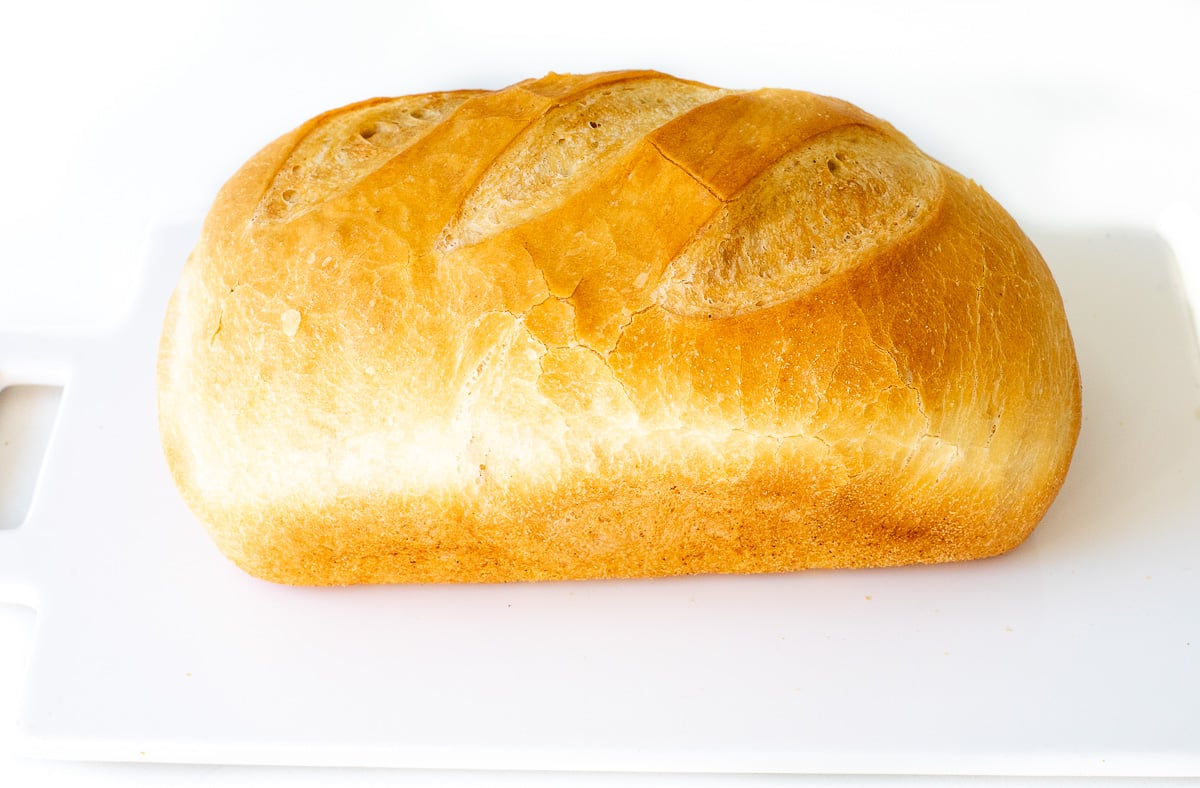
- Preheat oven to 500°F with an empty metal baking sheet on the bottom rack. Score the top of each loaf with a sharp knife, then place the loaf pans in the oven.
- Carefully pour 1 cup of hot water into the preheated baking sheet to create steam for a crisp, golden crust. Quickly close the oven door to trap the steam.
- Bake for 25–30 minutes, until golden brown and the internal temperature reaches 196°F. Remove from pans and cool completely on a wire rack before slicing.
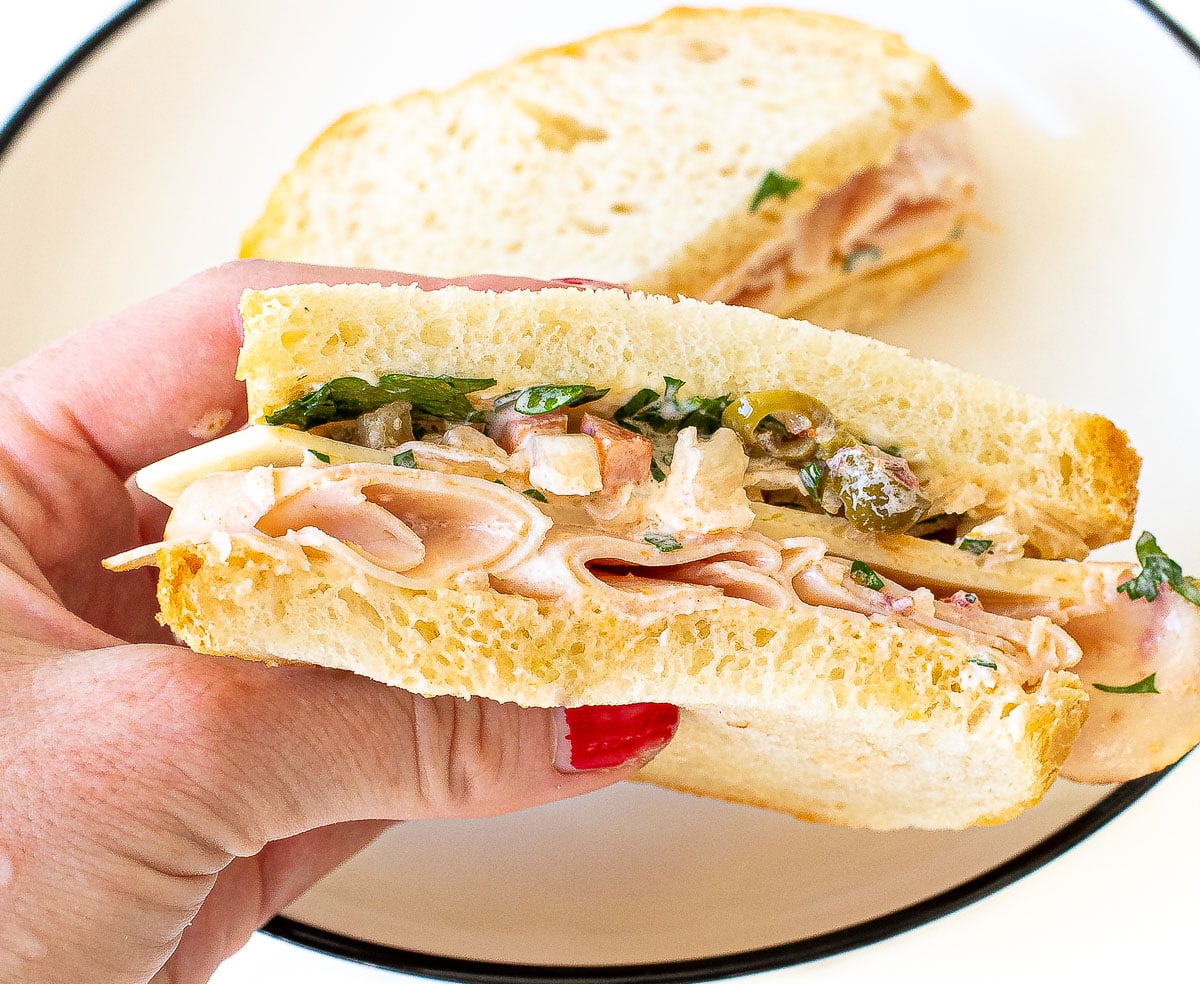
Ways to Enjoy Sourdough Sandwich Bread





Save this Recipe
Enter your email to get it straight in your inbox! Plus, receive new recipes weekly!
Recipe
Sourdough Sandwich Bread
This easy sourdough sandwich bread is soft, tender, and has a hint of tangy flavor. It makes two delicious loaves that are perfect for sandwiches, toast, and more!
Ingredients
- 2 cups water
- 1 tbsp yeast
- 3/4 cup sourdough starter
- 1 tbsp honey
- 5 cups bread flour
- 1 1/2 tsp kosher salt
- 3 tbsp unsalted butter, softened
Instructions
- In the bowl of a stand mixer fitted with the dough hook attachment, combine the water, yeast, honey, sourdough starter, and bread flour. Mix on low speed for 2 minutes, until a shaggy dough forms. Turn off the mixer and let the dough rest for 10 minutes.
- Add the salt and turn the mixer back to low speed. Knead for 5 minutes, then add the softened butter. Continue mixing until the butter is fully incorporated and the dough becomes smooth and elastic.
- Turn the dough out onto a lightly floured work surface and shape it into a smooth ball. Cover with the mixing bowl and let rise for 1 hour, or until noticeably puffy.
- Divide the dough into 2 equal pieces to make 2 loaves. Working with one piece at a time, gently stretch or roll the dough into an 8 x 12-inch rectangle. Starting at the short end, tightly roll the dough into a log, approximately 8 inches long and 4 inches wide. Pinch the seam to seal, then place seam-side down in a greased loaf pan. Repeat with the remaining dough. Cover both pans and let rise in a warm place for 45 minutes to 1 hour, or until the loaves have doubled in size.
- Preheat the oven to 500°F. Place an empty metal baking sheet on the bottom rack of the oven to preheat. Using a sharp paring knife, carefully score the top of each loaf to allow for expansion during baking. Transfer the loaf pans to the oven.
- Before closing the oven door, carefully pour 1 cup of hot water into the preheated baking sheet on the bottom rack. This will create steam, helping the loaves rise in the oven while developing a crispier, glossier crust. Quickly close the oven door to trap the steam inside.
- Bake for 25–30 minutes, or until the loaves are golden brown and the internal temperature reaches 196°F. Remove the bread from the oven and carefully transfer the loaves from their pans to a wire rack. Allow to cool completely before slicing for the best texture.
Notes
- Use an active sourdough starter. For the best flavor and rise, use a bubbly, recently fed starter. Since this recipe also uses yeast, it’s a little more forgiving than traditional sourdough bread.
- Measure flour correctly. Spoon flour into your measuring cup and level it off, or use a kitchen scale for the most accurate results. Too much flour can make the bread dry and dense.
- Don’t skip the dough rest. Letting the dough rest for 10 minutes before kneading gives the flour time to absorb the water and makes the dough easier to work with.
- Add butter at the right time. Wait until the dough has been kneaded for 5 minutes before adding the softened butter. This helps develop the gluten for a soft, tender loaf.
- Watch the dough, not the clock. Rising times can vary depending on the temperature of your kitchen. Look for dough that’s noticeably puffy during the first rise and doubled in size during the second.
- Roll the dough tightly. When shaping your loaves, roll the dough snugly to prevent large air pockets and create even slices that are perfect for sandwiches.
- Be careful with the steam. Pouring hot water into a preheated pan creates a burst of steam, so keep your hands and face away from the oven opening. Use a sturdy metal pan, never glass.
- Let it cool completely. I know it’s tempting to slice into warm bread, but cutting too soon can leave the center gummy. Cooling allows the crumb to set for the best texture.
Nutrition Information
Serving: 1sliceCalories: 200kcalCarbohydrates: 36gProtein: 6gFat: 3gSaturated Fat: 2gPolyunsaturated Fat: 0.4gMonounsaturated Fat: 1gTrans Fat: 0.1gCholesterol: 6mgSodium: 252mgPotassium: 49mgFiber: 1gSugar: 1gVitamin A: 76IUVitamin C: 0.01mgCalcium: 9mgIron: 0.4mg
Did You Make This?
I’d love to hear your feedback! Leave a review and make sure to share your pictures on social media! Don’t forget to follow @thechefsavvy.