The best Brown Butter Salted Chocolate Chip Cookies aren’t just soft and chewy, they’re also loaded with rich chocolate chunks and delicious sea salt! Ready in only 40 minutes, this quick and easy chocolate chip cookie recipe will quickly become the new family favorite.
Looking for more Cookie Recipes? Try my Monster Cookies, Chocolate Dipped Chewy Peanut Butter Cookies or my Double Chocolate Coconut Oil Cookies!
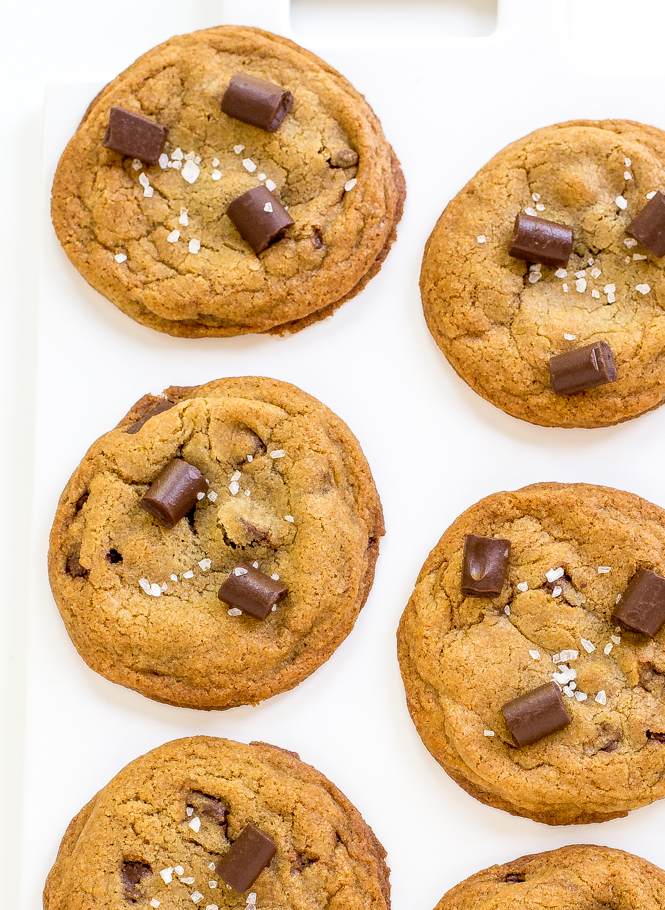
Brown Butter Salted Chocolate Chip Cookies
Please excuse my humble brag, but I honestly think these are the best chocolate chip cookies I’ve made yet! They are super soft and buttery, loaded with rich chocolate chunks AND sprinkled with delicious sea salt. To say this easy chocolate chip cookie recipe is amazing would be an understatement!
OK, humble brag over. But seriously, I am just so excited to share my brown butter chocolate chip cookie recipe with you today! I made these just like my Brown Butter Chocolate Chip Skillet Cookie, but instead of having one giant cookie, I portioned the dough out into 18 individual cookies and loaded it with chocolate chunks and sea salt.
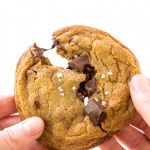
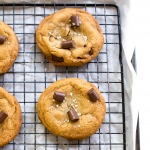
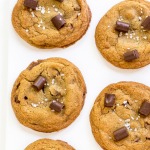
These mouthwatering brown butter sea salt chocolate chip cookies take just 40 minutes to bake and turn out PERFECTLY — firm around the edges and wonderfully gooey with melted chocolate in the center. And trust me on the extra step of browning the butter, it really is the secret to success with this recipe. While melted butter adds extra chewiness, the extra step of browning adds a delightful toffee flavor.

Ingredients
- Unsalted butter: Brown butter is the star of this cookie! If you have never browned butter before you are in for a treat! It adds a wonderful nuttiness to the cookie that takes it over the edge!
- Sugar: I like to do a combination of granulated sugar and light brown sugar. The brown sugar adds extra softness and a hint of molasses to the cookies. Make sure your brown sugar is soft!
- Eggs: Add structure, fat and moisture to the dough. I like to bring my eggs to room temperature before adding them into the dough.
- All purpose flour: Is added. Feel free to substitute 1:1 gluten free flour to make this recipe gluten free.
- Baking soda: Gives the cookies the lift they need.
- Cornstarch: Is my secret ingredient for making these cookies super soft and chewy!
- Chocolate Chunks: You can use whatever chocolate chips you have on hand! Dark chocolate chips, semi or sweet would all work!
- Coarse sea salt: For sprinkling on top, to taste

How to Make Brown Butter Salted Chocolate Chip Cookies
- Brown butter: Add 10 tablespoons of butter to a small saucepan. Heat over medium high heat and cook until butter is golden brown and bubbly. This takes about 5 minutes. Cut the remaining 4 tablespoons of butter into cubes and add to a large bowl.
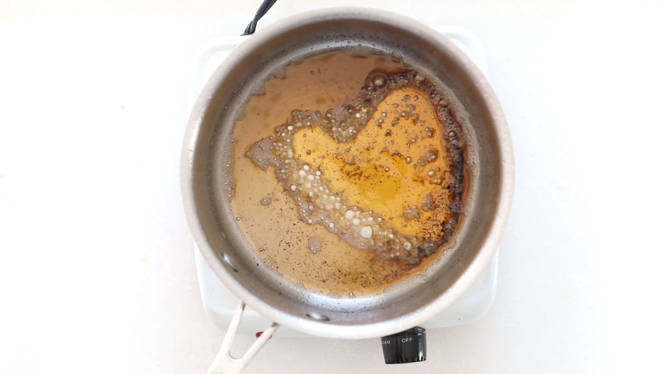
- Combine wet ingredients: Combine the melted butter with the cubed butter in the bowl and stir until melted together. Stir in both sugars, eggs, and vanilla.
- Combine dry ingredients: In a separate medium bowl combine flour, salt, baking soda, and cornstarch.
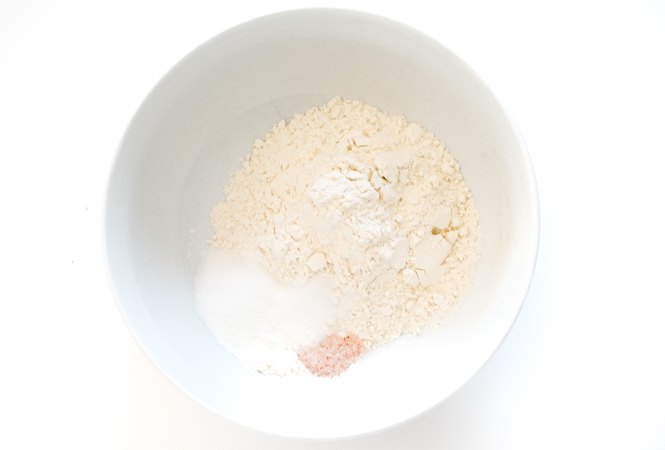
- Make batter: Fold in the dry ingredients to the wet ingredients in two parts until incorporated. Be careful not to over mix! Fold in chocolate chips or chocolate chunks.
- Allow cookies to rest / preheat oven: I let my cookie dough sit for 20 minutes to firm up a bit! While waiting for the dough to firm up, preheat the oven to 375 degrees.
- Divide the cookie dough: Into 18 cookies and place them on a baking sheet lined with a silicon baking mat or parchment paper.
- Bake: For 10 minutes or until golden brown. They still may look a bit soft in the middle, but that is totally fine!
- Cool & Serve: Allow the cookies to cool on the baking sheet for 2-3 minutes, then transfer to a wire rack to cool completely. Sprinkle with sea salt and serve!
A Few Quick Tips for Making these Cookies
- Bake one tray at a time. I know when you’re in a rush it’s tempting to throw several pans of cookies into the oven at once, but while this will save you some time, it won’t necessarily yield the delicious chocolate chip cookies you’re craving! It’s important to bake just one tray at a time so the cookies all bake evenly.
- Let the cookie dough rest. Again, I know time is precious! But patience really is key when baking. I like to let my cookie dough rest for 20-30 minutes before putting them in the oven so that the dough has time to firm up. You can also make this dough ahead of time and either refrigerate or freeze for cooking later.
- Don’t over work the dough. It’s important to mix all of your ingredients just until they are combined. The more you mix the dough, the more air gets into it which can prevent the cookies from rising. So unless you want super flat and crispy cookies, avoid over-mixin

More cookie recipes to try!
- Salted Caramel Chocolate Chip Cookies
- Peanut Butter Chocolate Chunk Cookies
- Chocolate Dipped Chewy Peanut Butter Cookies
- Double Chocolate Coconut Oil Cookies
- Brown Butter Chocolate Chip Skillet Cookie
Save this Recipe
Enter your email to get it straight in your inbox! Plus, receive new recipes weekly!
Brown Butter Salted Chocolate Chip Cookies
Ingredients
- 14 tablespoons unsalted butter, divided
- ½ cup white sugar
- ¾ cup light or dark brown sugar, make sure the sugar is soft and not hard
- 1 large egg
- 1 large egg yolk
- 1 tablespoon vanilla extract
- 1¾ cup all purpose flour
- ½ teaspoon salt
- ½ teaspoon baking soda
- 1 teaspoon cornstarch
- 1 cup semi sweet chocolate chips or chocolate chunks
- sea salt for sprinkling on top
Instructions
- Add 10 tablespoons of butter to a small saucepan. Heat over medium high heat and cook until butter is golden brown and bubbly. Takes about 5 minutes.
- Add the remaining 4 tablespoons of butter to a large bowl. Cut into cubes.
- Add the melted butter to the cubed butter in the bowl and stir until melted.
- Stir in both sugars, eggs and vanilla.
- In a medium bowl combine flour, salt, baking soda and cornstarch.
- Fold in the dry ingredients to the wet ingredients in two parts until incorporated. Do not over mix.
- Fold in chocolate chips.
- I let my cookie dough sit for 20 minutes to firm up a bit.
- Preheat oven to 375 degrees while you are waiting for your dough to firm up.
- Divide dough into 18 cookies and place them on a baking sheet lined with a silicon baking mat or parchment paper.
- Bake for 10 minutes or until golden brown. (They still may look a bit soft in the middle that is fine)
- Allow the cookies to cool on the baking sheet for 2-3 minutes then transfer to a wire rack to cool completely.
- Sprinkle with sea salt and serve!
Nutrition Information
Did You Make This?
I’d love to hear your feedback! Leave a review and make sure to share your pictures on social media! Don’t forget to follow @thechefsavvy.




Susan Crossland
Beware when increasing serving size.
Original recipe yields 18 cookies which calls for 14 TB of butter; 10 TB to be melted, the remaining 4 TB cubed, then add the browned butter to the cubed butter. I increased the recipe to yield 30 cookies. The ingredient quantities increased as it should. To make 30 cookies it calls for it increased the butter to 28 TB. Here is the “but” because it didn’t’ change #1 under Instructions. Regardless of how many cookies you change the servings to, #1 still said the following:
Brown butter: Add 10 tablespoons of butter to a small saucepan. Heat over medium high heat and cook until butter is golden brown and bubbly. This takes about 5 minutes. Cut the remaining 4 tablespoons of butter into cubes and add to a large bowl.
I followed the recipe all the way through, then realized my dough was a bit too thick. Did steps 1-6 when I realized this. Then I went and melted the remaining 14 TB of butter and mixed it in my batter. It’s being refrigerated now. Hope this doesn’t mess my dough up. Really looking forward to this turning out.
Kathie Schrieber
Not to call you out but this is COOKS ILLUSTRATED recipe. The ingredients are the exact same but their method is, I believe much better. The cooling process of the butter is their tried & true best way to do it. Try it😉! They’re the best!👍🏼
nicolthepickle
These were really good. I’m eating one right now. They’re a good, plain chocolate chip cookie, but a little better.
I’m curious as to why I don’t just turn all the butter into brown butter?
Also just a random public service announcement but if you’re a fan of brown butter. Better Homes and Gardens has a brown butter pie/tart that is amazing.
Kelley
Hi!
It is totally preference. You can brown all of the butter for a more intense flavor or a portion like I did.
You will have to send me the link for the brown butter tart. I would love to try it!!
Thanks,
Kelley
nicolthepickle
I’m going to try them again this week sometime and I’ll brown all the butter.
This is the tart http://www.bhg.com/recipe/pies/browned-butter-tart/#page=0
It says to serve with fruit, but I like it better plain, cut into little slices with coffee. Anyways if you get a chance, do try it.
Kelley
Thanks for sending the link!
Kathy Bradford
These are such an improvement over the standard recipe on the yellow bag. The browned butter flavor really shines through and makes the dough much more than just a covering for chocolate chips. The adjusted proportions of brown to white sugar, the addition of the corn starch, and one less egg white make a subtle but wonderful difference in the texture. You are so right about pulling them out when they still look a bit soft in the middle. The chewy texture with crisp edges is just perfect!
We wrapped some of the dough in plastic wrap in the shape of a log and stored it in the refrigerator for ten days. It was like having a reserve of gold that could just be pulled out and sliced for nearly instant hot cookies. In the time it took to heat the oven, the cookies were sliced and ready to bake. If it had lasted, the dough could have been frozen, but this was too good to stay around for long. We took them to a party, and people noticed the difference.
It was nice to have a recipe that didn’t require a mixer or creamed butter and sugar, but the flavor was the best part!
Kelley
Thank you so much Kathy!!