
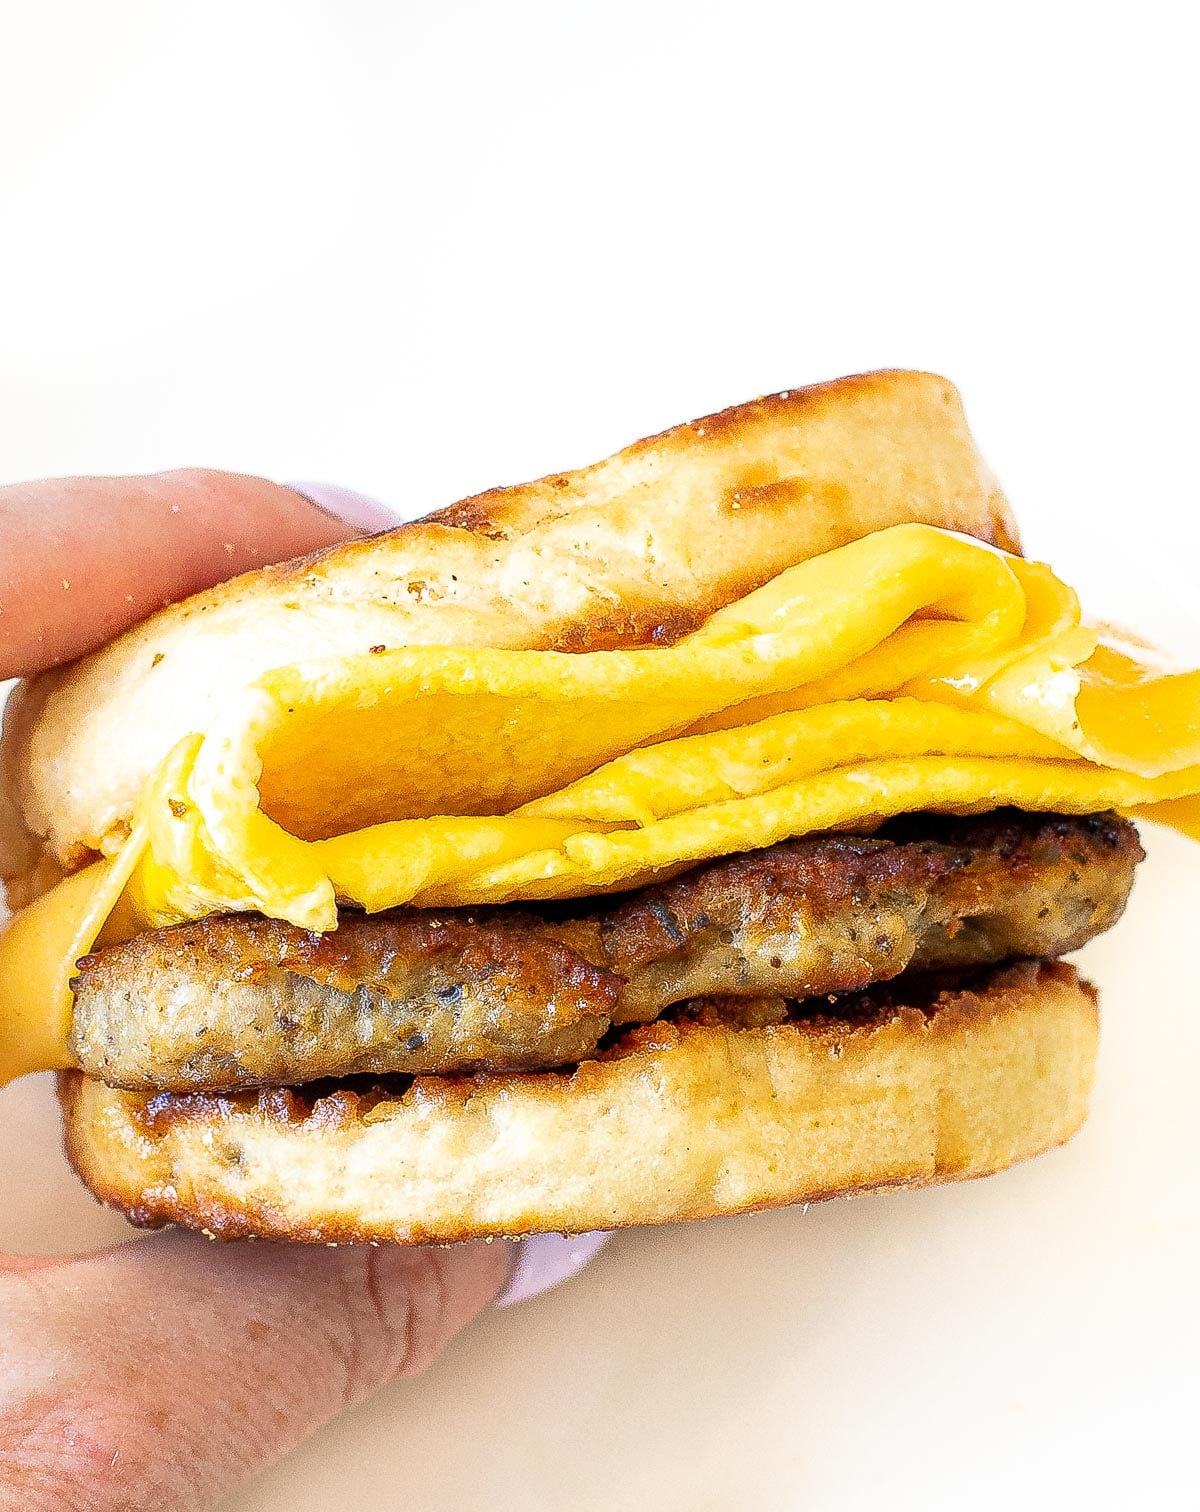
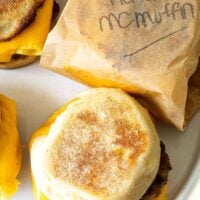
Skip the drive-thru! These Homemade Sausage Egg McMuffin Sandwiches make mornings so easy! Homemade English muffins topped with chicken breakfast sausage, fluffy eggs and cheese! Make a batch, freeze them, and you’ve got freezer breakfast sandwiches whenever you need it!
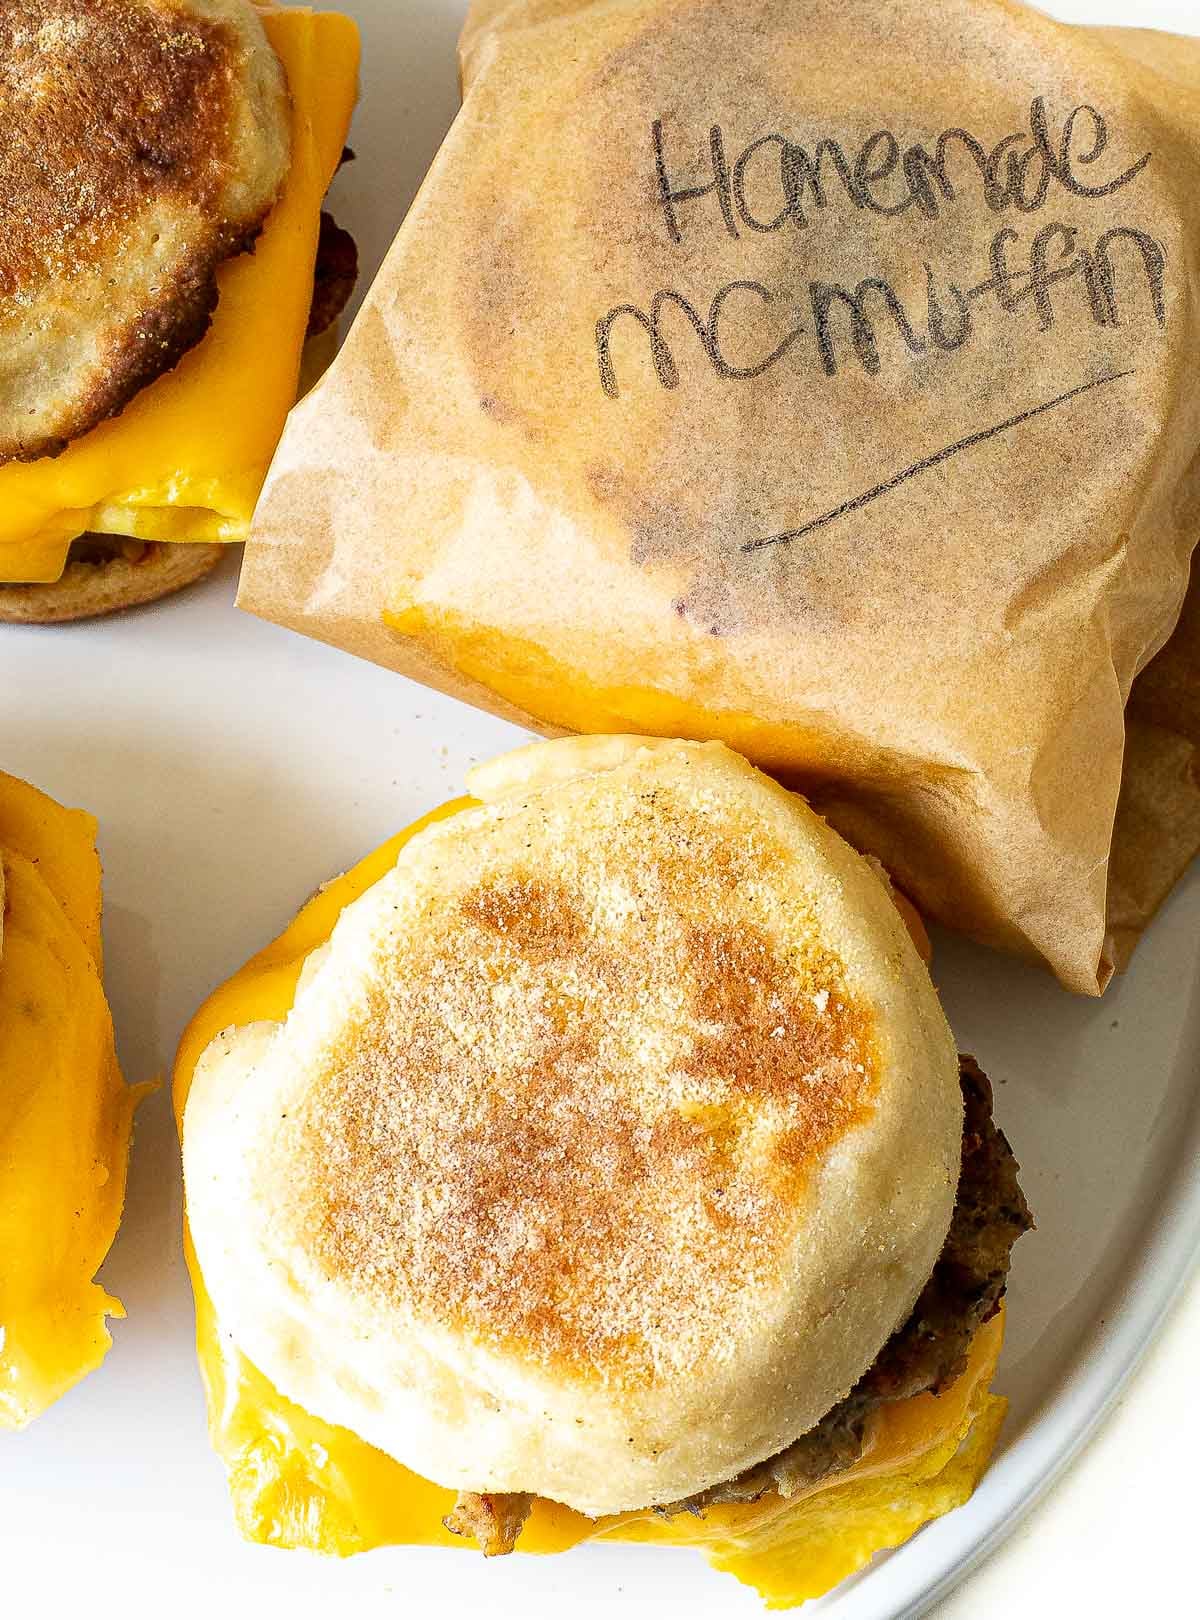
During my pregnancy, I stockpiled the freezer with tons of freezer-friendly recipes like my Slow Cooker Barbacoa Beef, Breakfast Burritos and Vegetarian Enchilada Casserole! I also made a bunch of these easy freezer breakfast sandwiches. They were a lifesaver in the first few months after having a baby. Just grab, reheat and go!
These homemade McDonald’s Egg McMuffins were my favorite! I looked forward to them every morning!
 Kelley’s Tips
How to make better than McDonald’s Sausage Egg McMuffins at home
- Make your own English muffins! Nothing beats a homemade English muffin and people are always surprised at how easy they are to make! My recipe can be made in under an hour!
- Make your own breakfast sausage as well! Not only do I make my own English muffins I also make my own chicken breakfast sausage! It takes 5 more minutes than pan frying regular sausage but will make this sandwich 10 x better! Just mix ground chicken and spices, form into patties then pan fry!
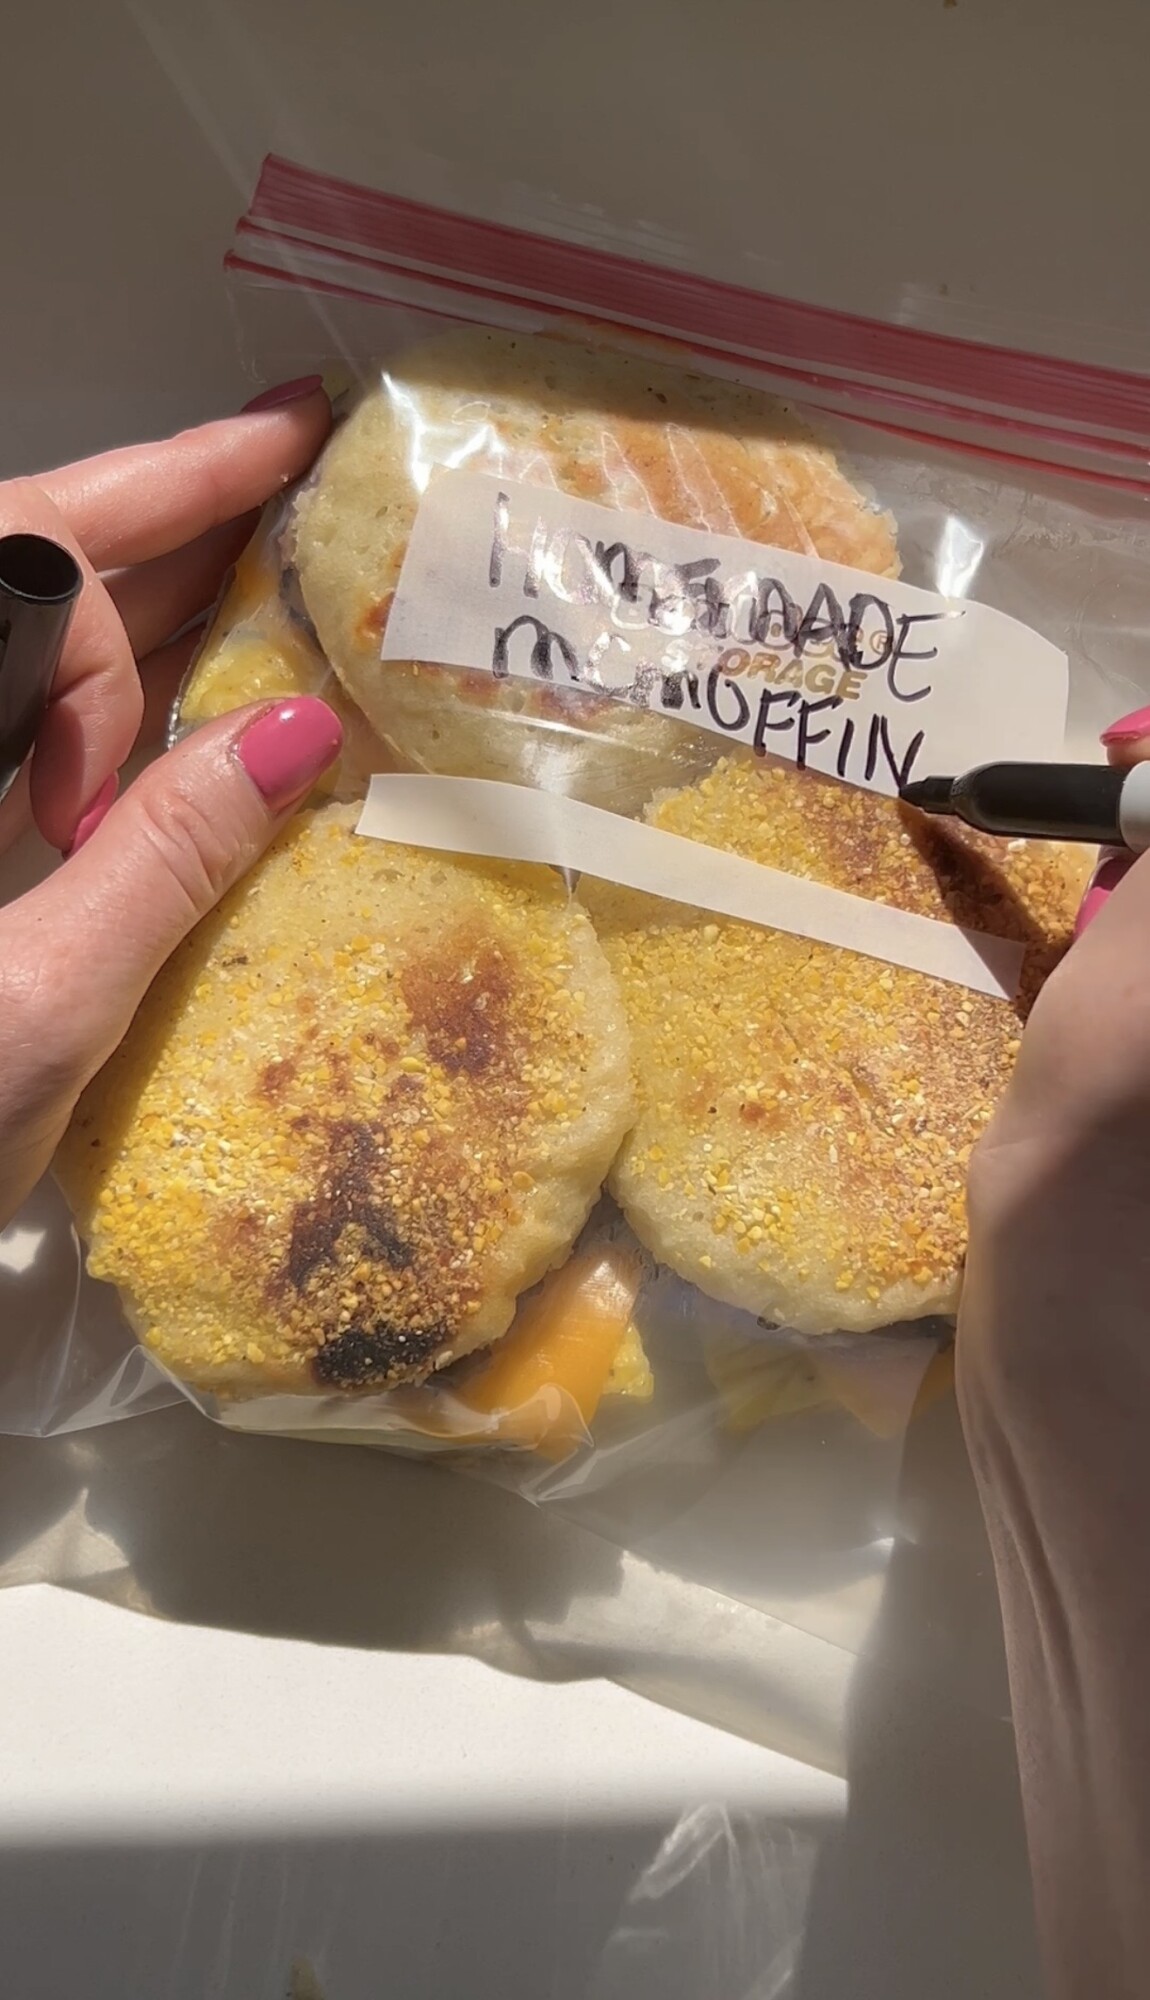
- If you’re not going to enjoy these right away I recommend popping them in the fridge for 2-3 days and in the freezer for any longer!

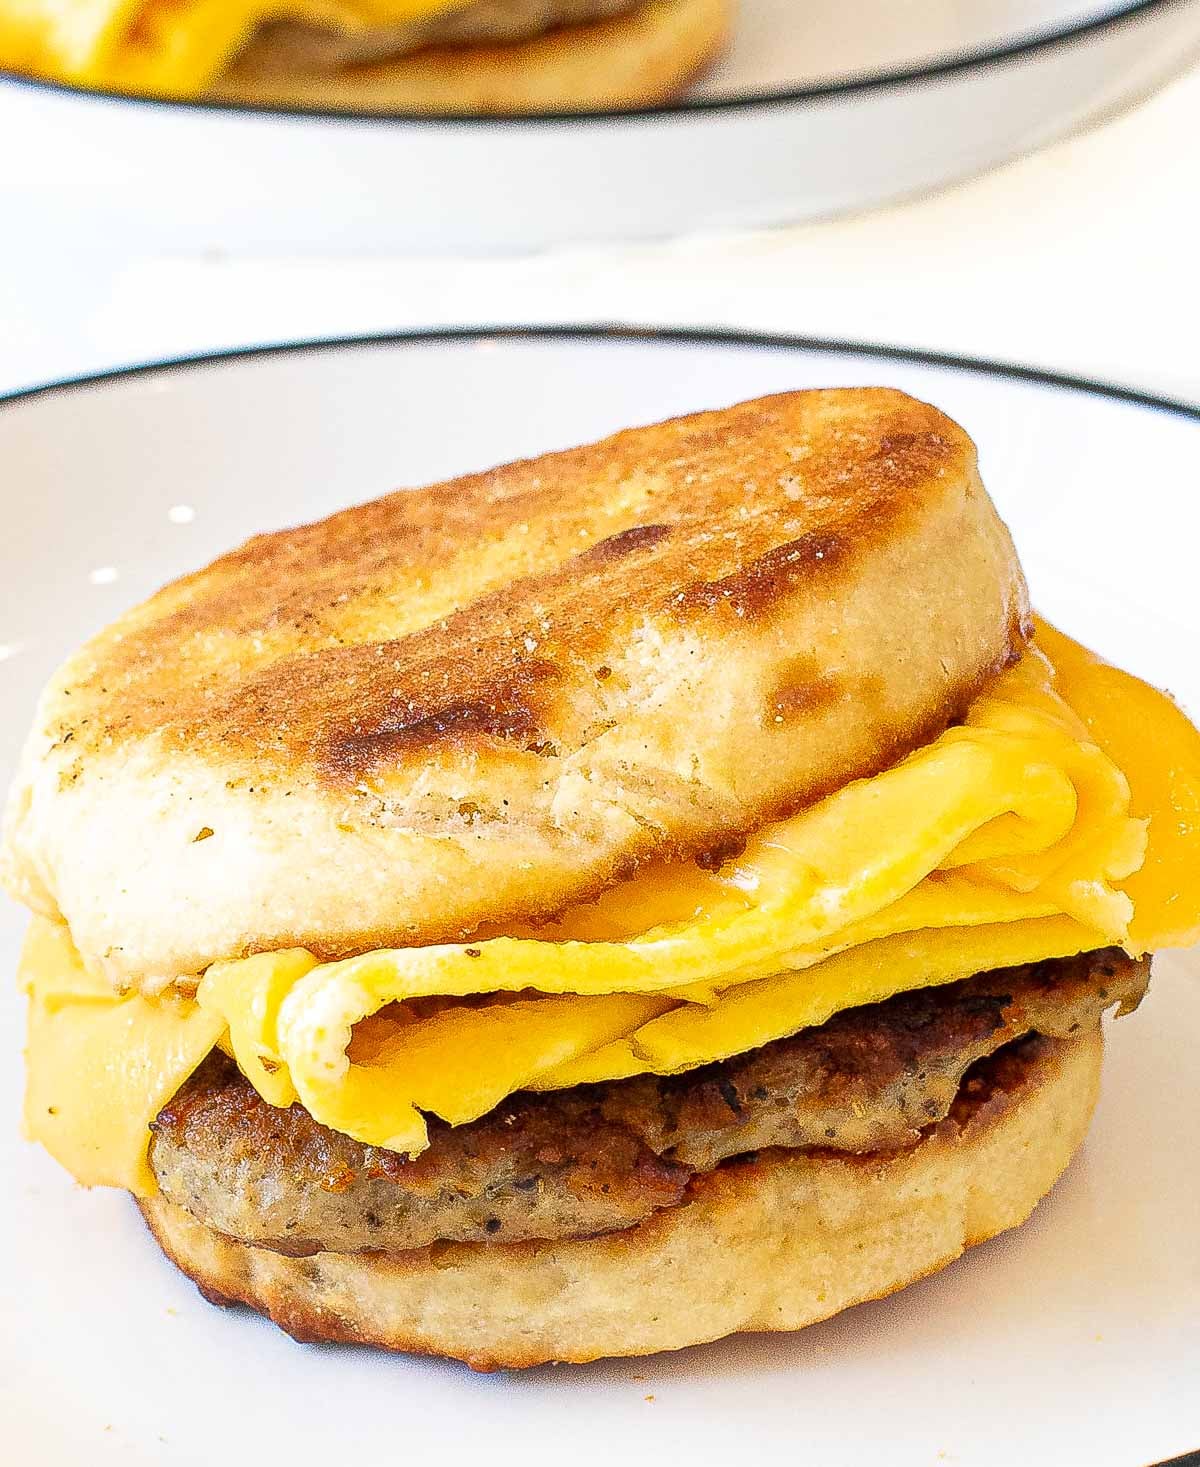
What you’ll need:
- English Muffins: Use store-bought or try my Homemade English Muffin Recipe. They can be made in under an hour!
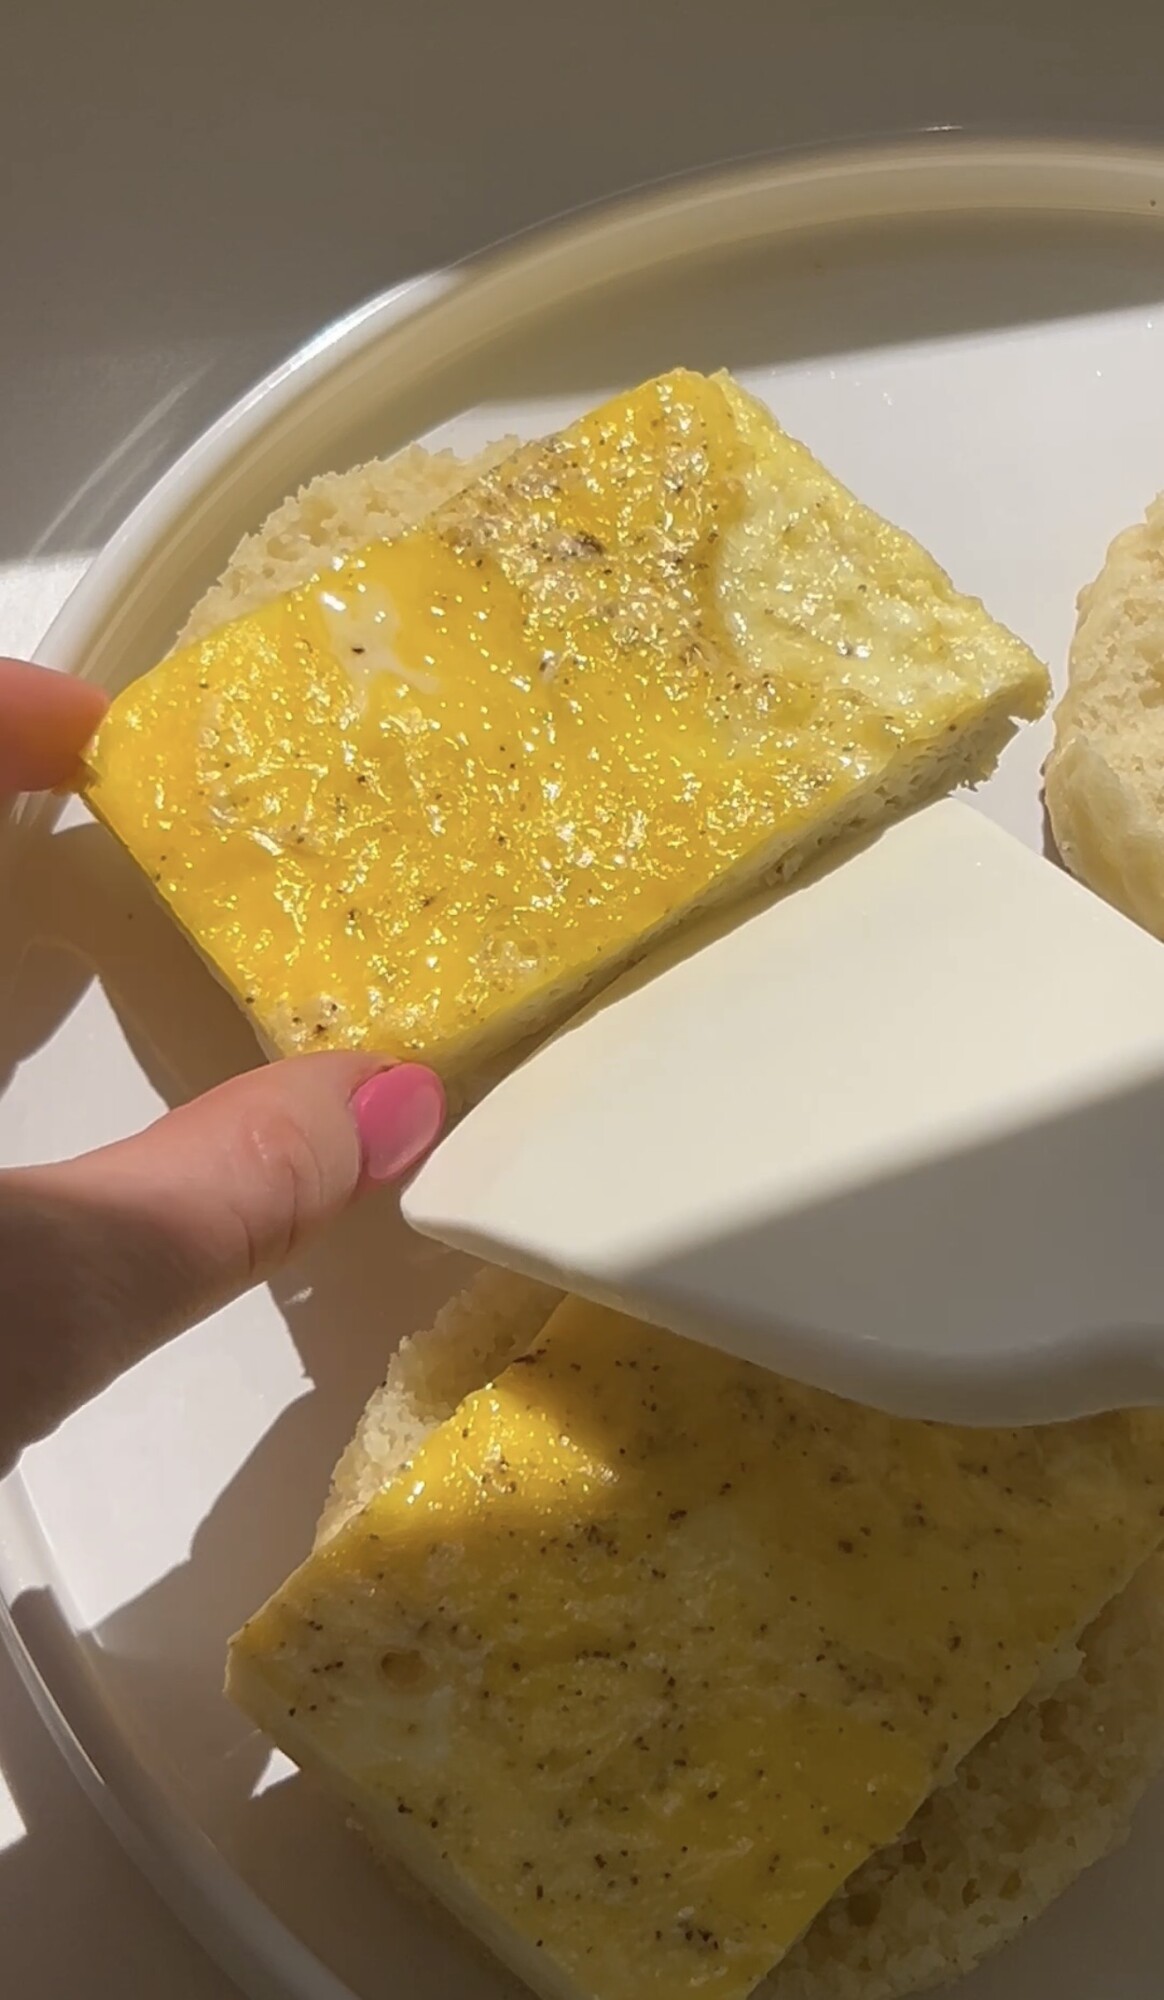
- Eggs: I’ve tried this recipe multiple ways! I’ve baked the eggs in a casserole dish then used a biscuit butter (or you can use the ring from making the English muffins) then cut out rounds. I have also made this in a skillet and folded the sides in like an envelope to make a square. You can also bake it in a 9 x 13 pan and cut into squares! All three methods work! Do whatever is easiest for you!
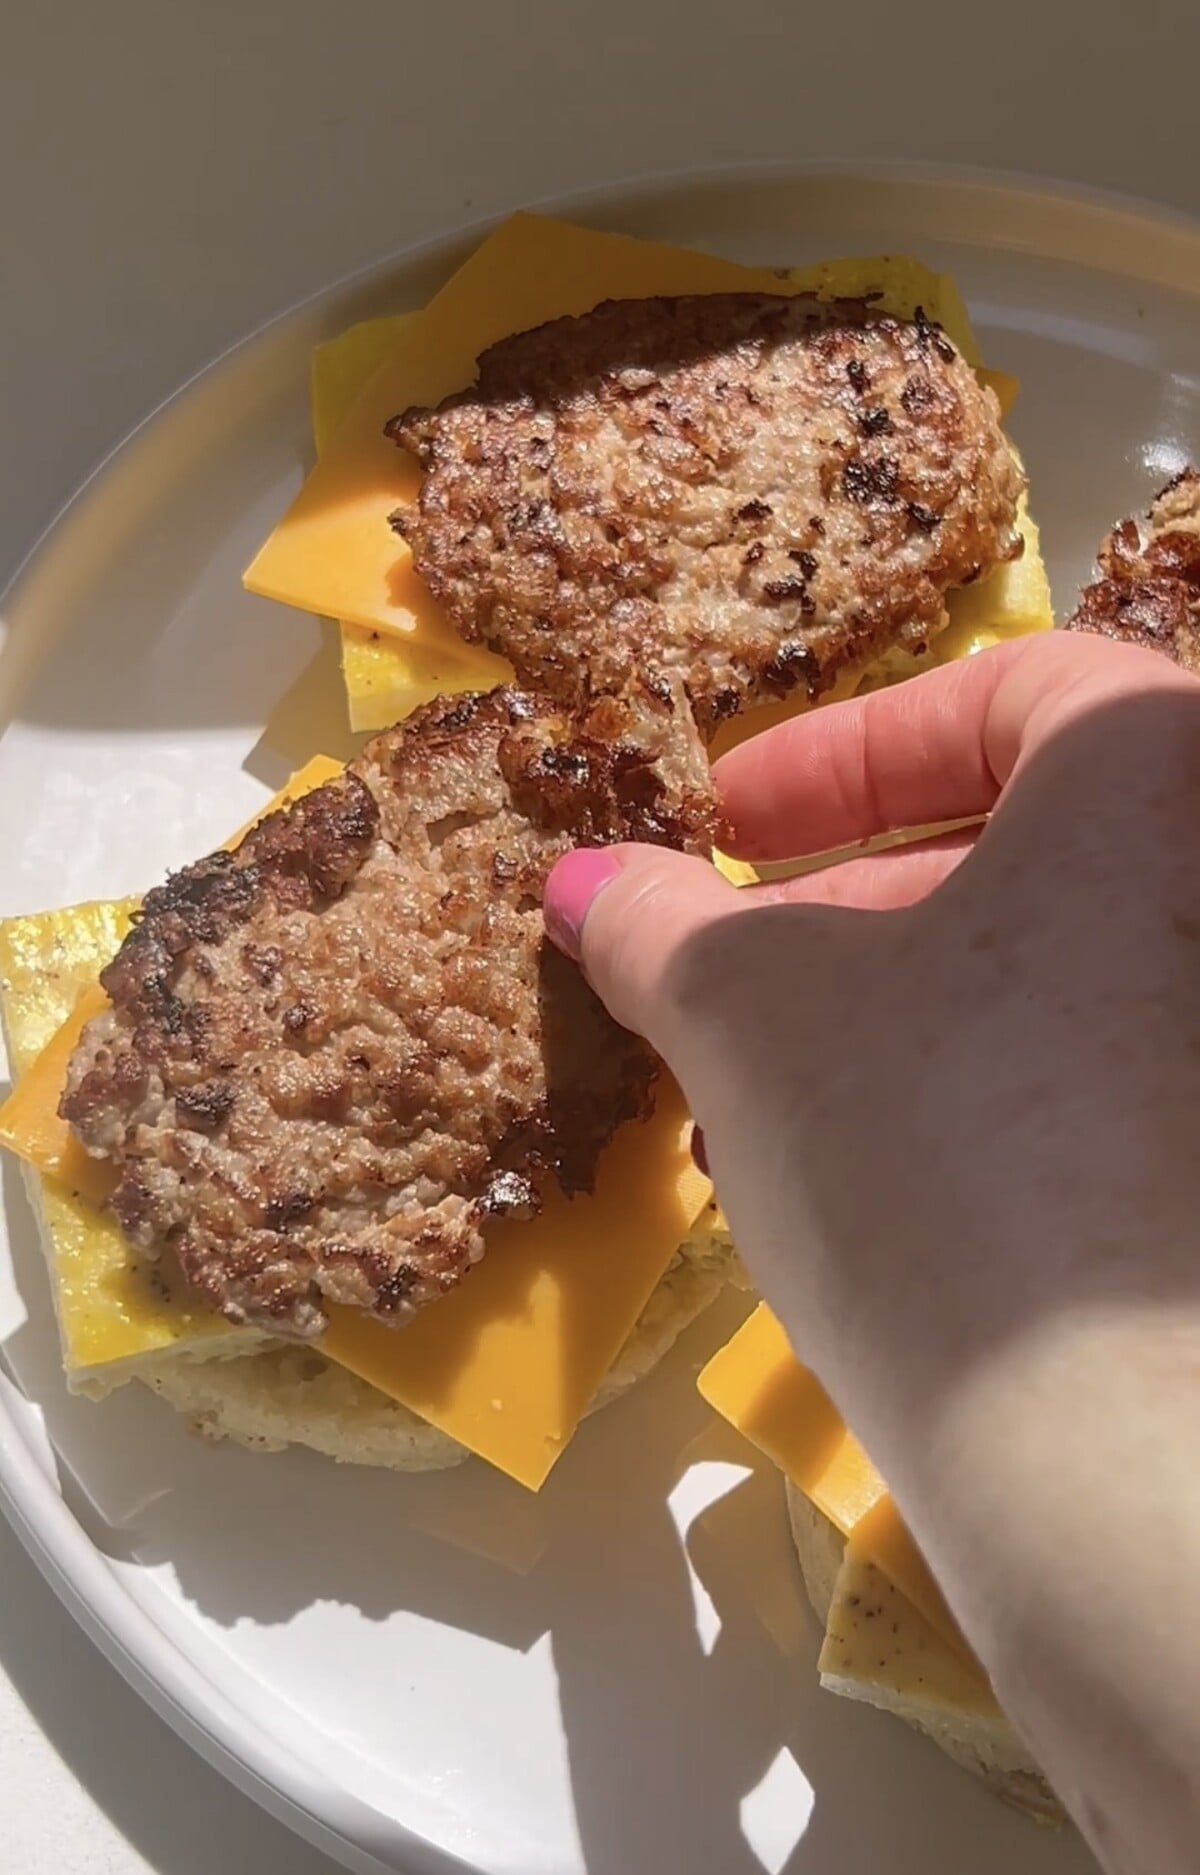
- Homemade Breakfast Chicken Sausage: Make your sandwich 10 x times better than McDonald’s by making your own homemade chicken sausage! This along with the homemade English muffins makes all the difference! You can use the same method and use pork or beef instead!
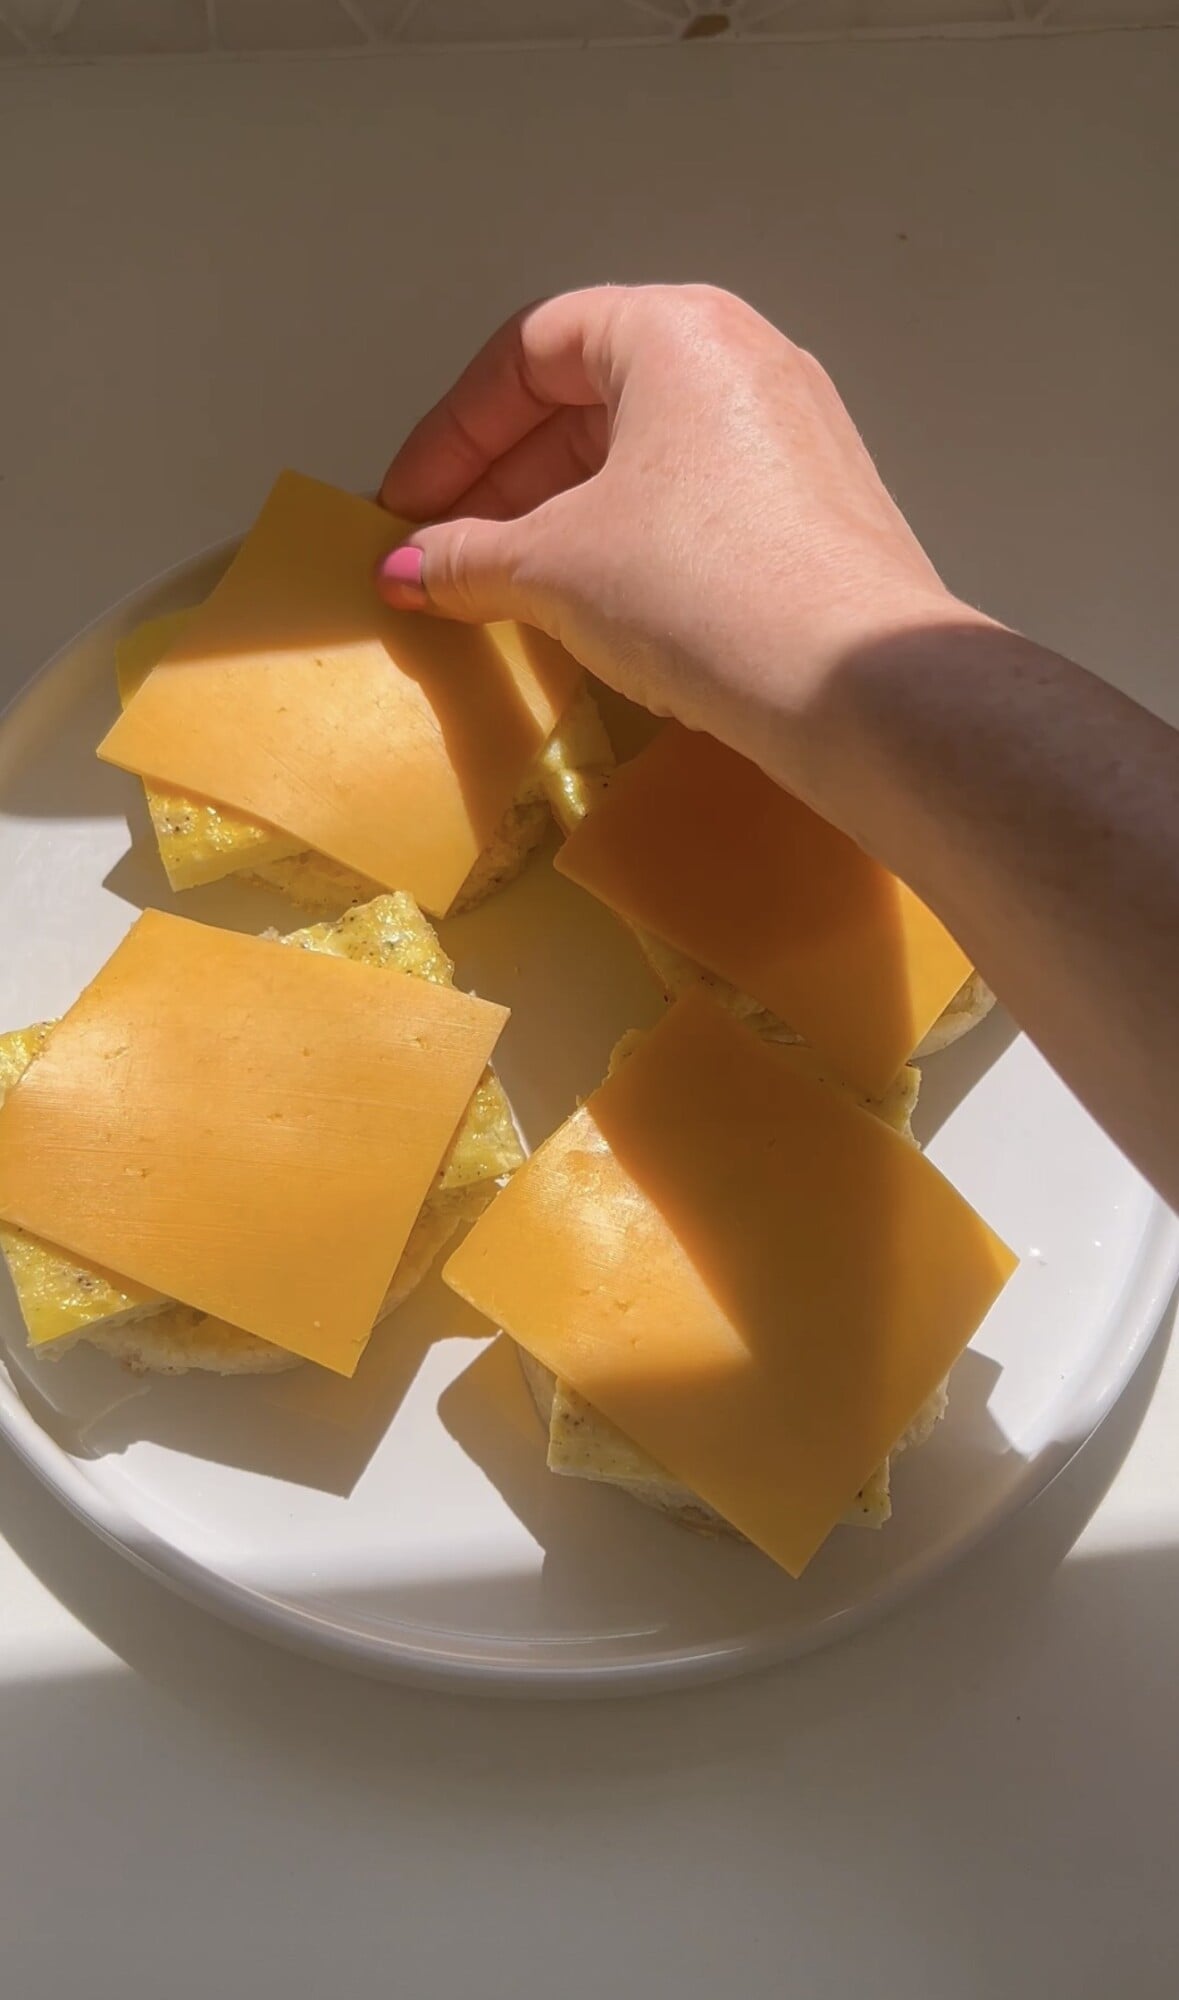
- Cheese: A true McMuffin has American cheese so that is what we use. I’ve also made this with sharp cheddar as well!
How to make Sausage Egg and Cheese McMuffins at home
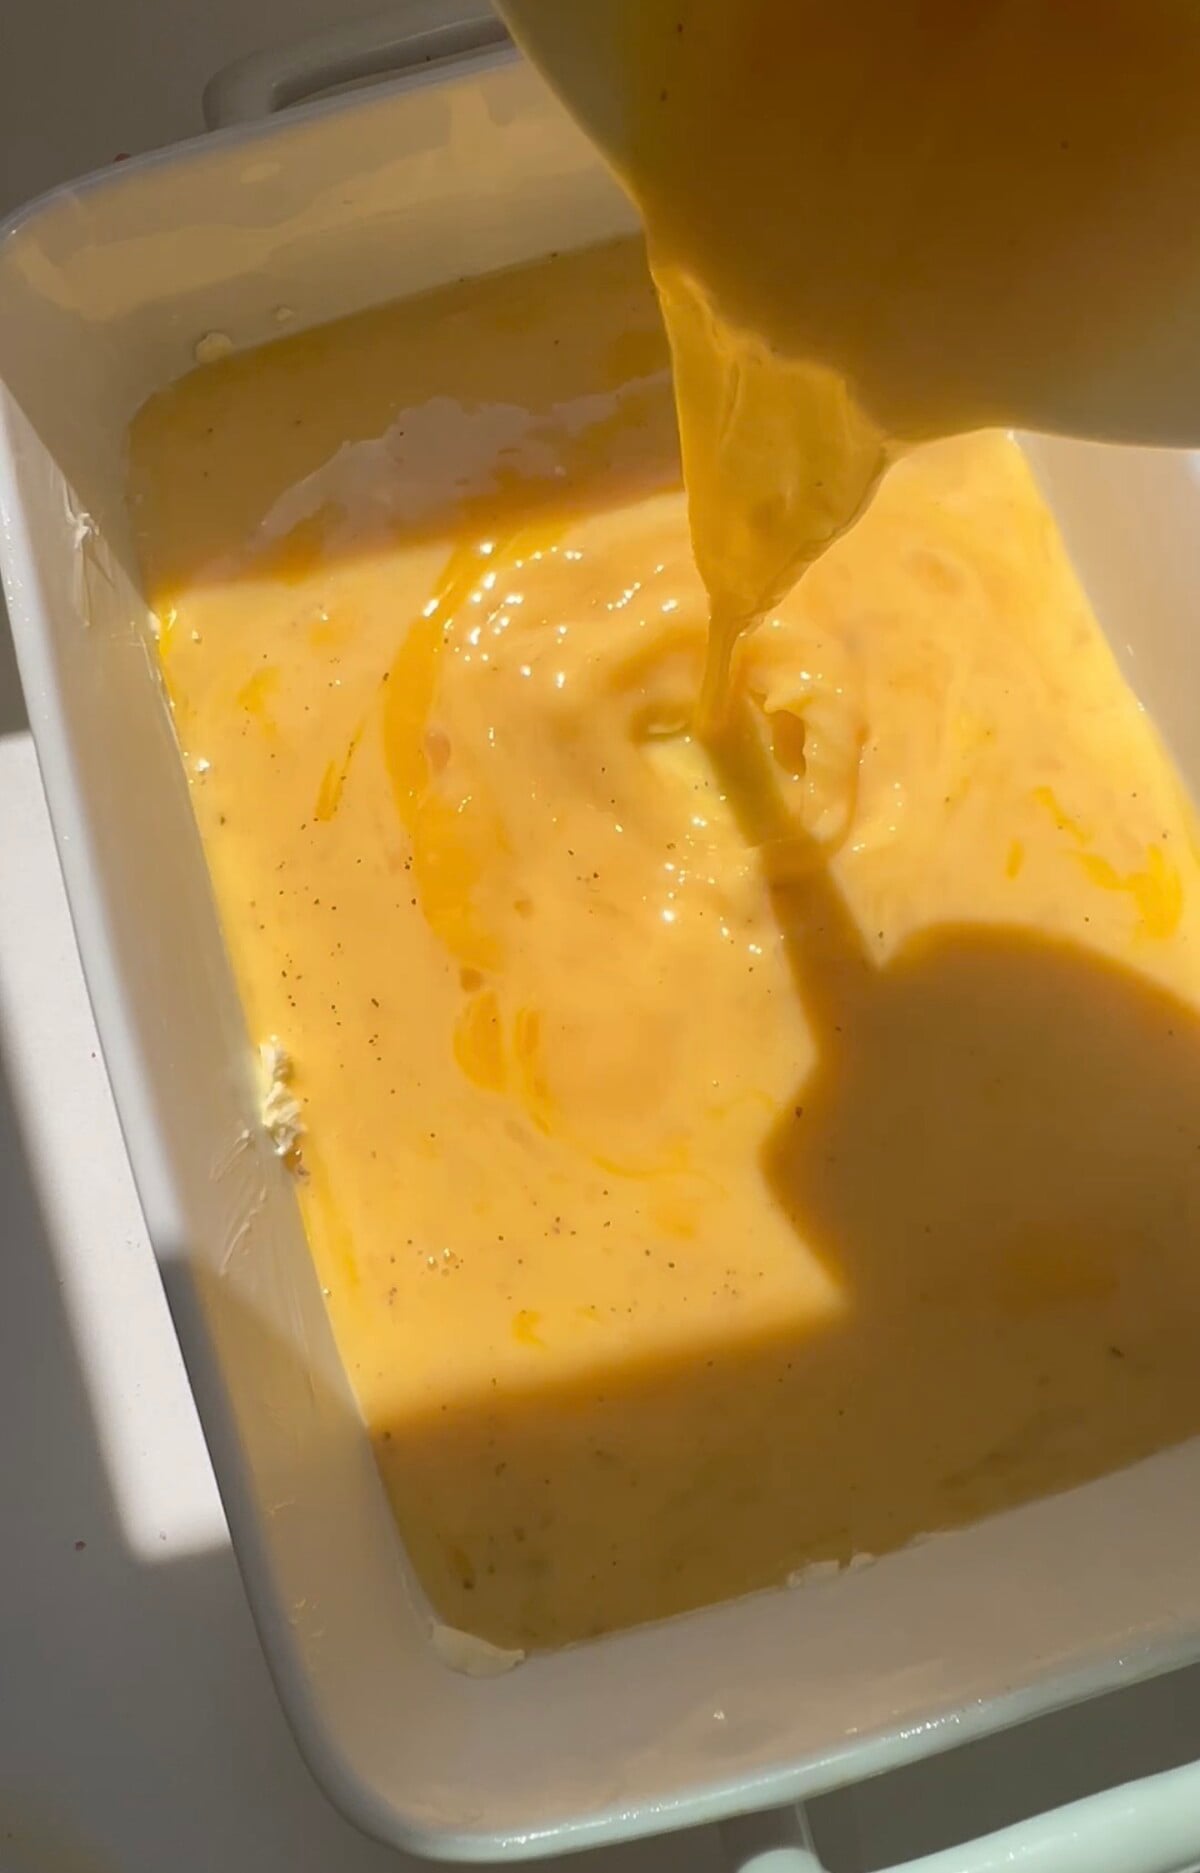
- Prepare / Bake Eggs: In a medium bowl whisk eggs, milk, and a sprinkle of salt and pepper until combined. Pour into the greased pan and bake for 18-20 minutes or until the eggs look set.
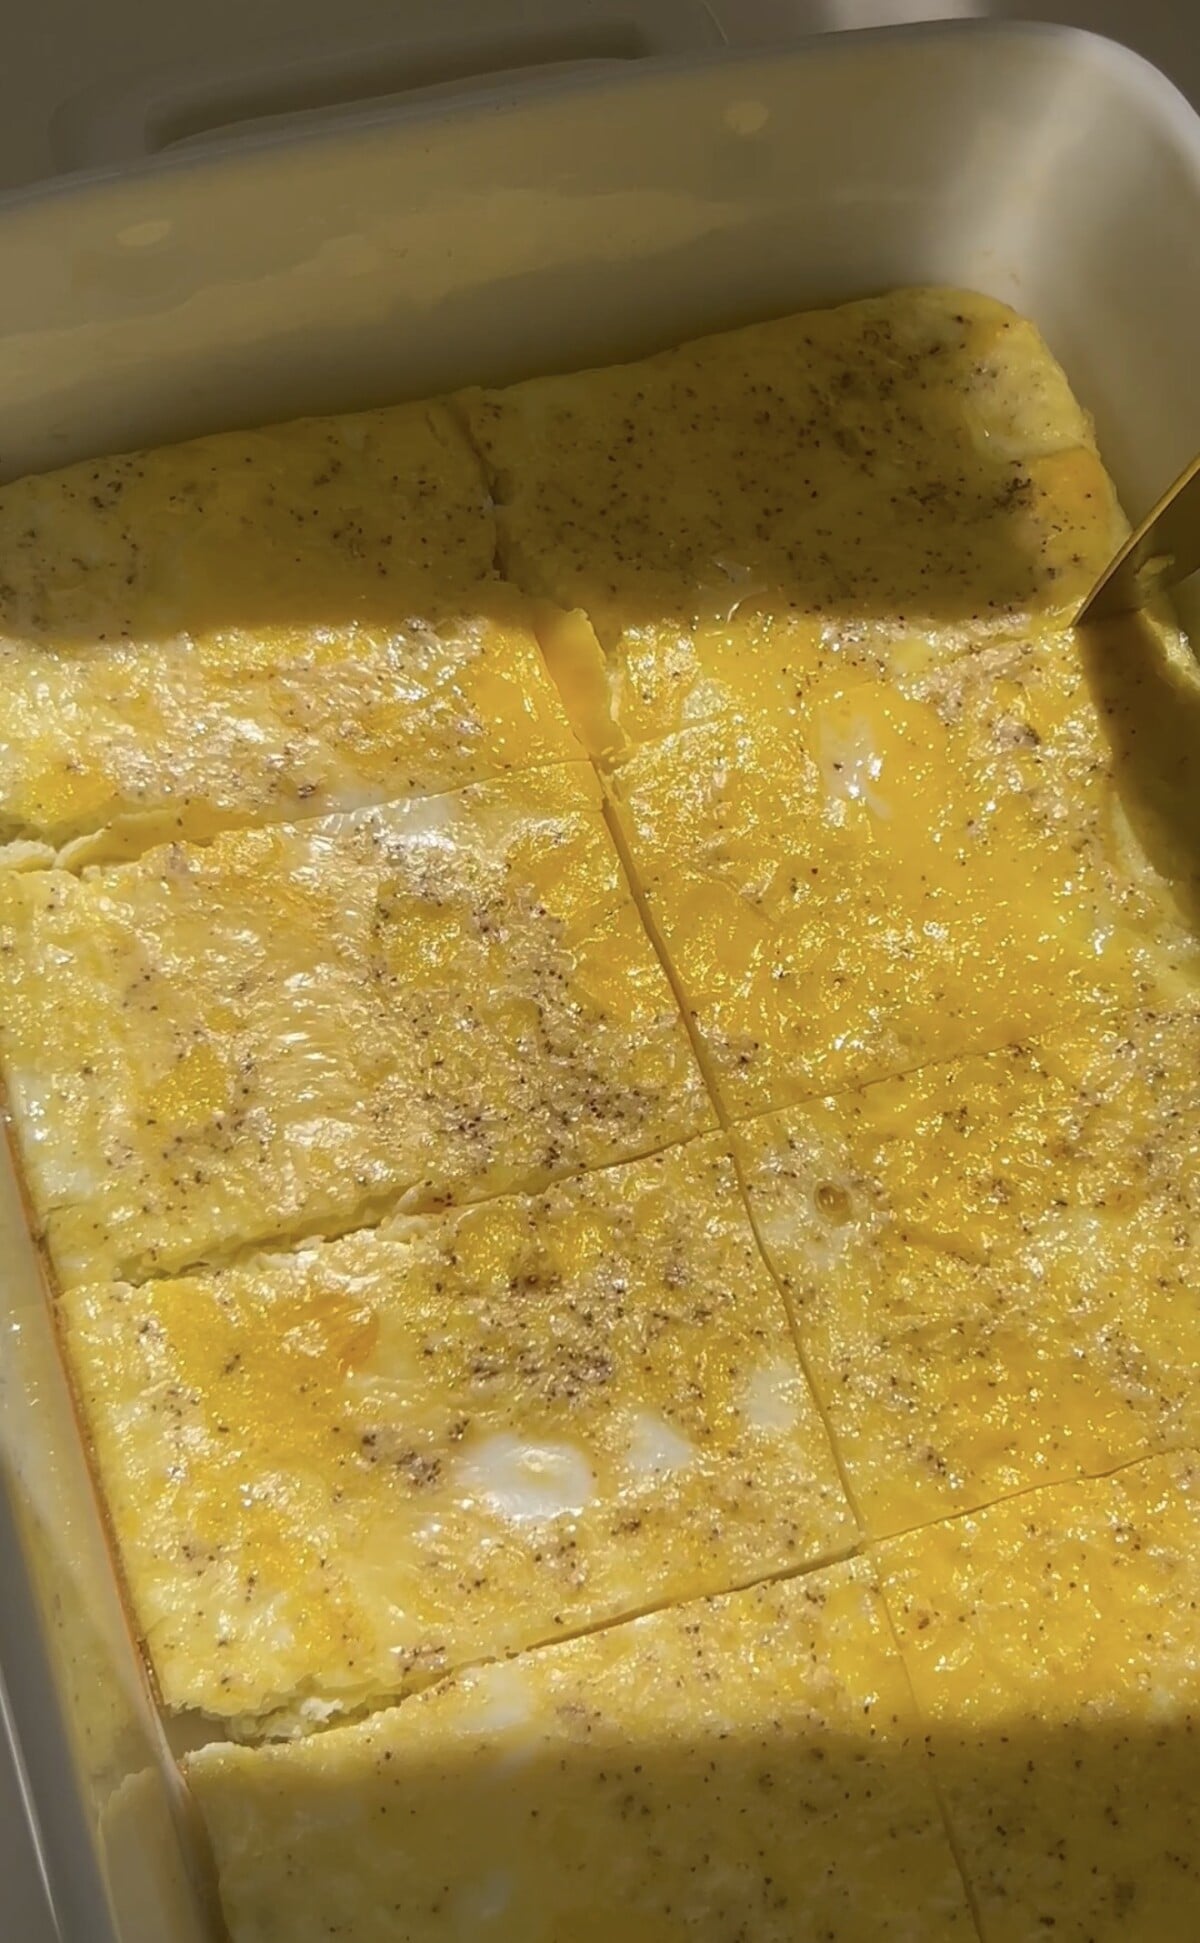
- Cool / Cut: If using a 9 x 13 pan or skillet method cut the eggs into 8 rectangles. You can also cut it into 8 rounds using a biscuit cutter or English muffin mold.
- Assemble: Top each English muffin with warm egg, cheese then sausage!
- Freeze: Place the sandwiches in a large ziplock bag and freeze for up to 3 months! Or enjoy right away! They can be stored for a couple of days in the fridge.
Use leftover egg cups or bacon egg muffins to make this recipe even easier!
More Meal Prep Friendly Breakfasts
Save this Recipe
Enter your email to get it straight in your inbox! Plus, receive new recipes weekly!
Freezer Breakfast Sandwiches
Ingredients
- 1 batch Homemade English Muffins , or 10 store bought english muffins, cut in half
- 10 eggs
- 1/4 cup milk
- salt and pepper
- 8 slices homemade chicken breakfast sausage, regular pork sausage, Canadian bacon or ham
- 10 slices sharp cheddar cheese
Instructions
- Preheat oven to 325 degrees. Grease a 9 x 13 pan with butter or non stick cooking spray.In a medium bowl whisk eggs, milk and a sprinkle of salt and pepper until combined. Pour into the greased pan and bake for 18-20 minutes or until the eggs look set.
- Remove from the oven and allow the eggs to cool before cutting into 8 rectangles. You can also use a biscuit cutter and cut these into 8 circles if you prefer!
- Top each english muffin with egg, a slice of cheese and your sausage patty.Enjoy immediately or if meal prepping individually wrap each breakfast sandwich in aluminum foil then place them in a large ziplock bag. Refrigerate for 2-3 days or freeze for up to 3 months.
Notes
Nutrition Information
Did You Make This?
I’d love to hear your feedback! Leave a review and make sure to share your pictures on social media! Don’t forget to follow @thechefsavvy.







Kathy
These are such a delicious timesaver!
Kelley Simmons
Thank you so much Kathy!!