
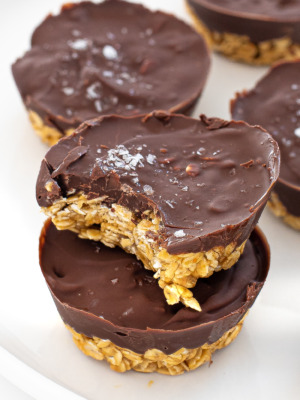
These easy 5 Ingredient Peanut Butter Chocolate Bars are super easy to make and extremely addicting! They take just 10 minutes to prep and then the fridge does the rest for you. The easiest Christmas dessert EVER!
Chocolate peanut butter is my favorite sweet combination! If you love it like I do, try my No-Bake Chocolate Peanut Butter Pie, Reese’s Cookies, and these Peanut Butter Buckeyes are dangerously pop-able!

No Bake Peanut Butter Bars
No-Bake Peanut Butter Bars are an awesome dessert to make ahead, and you only need 5 ingredients that you probably have on-hand right now. Simply mix and pour the ingredients in layers, and pop them in the fridge until you’re ready to have them. They also freeze really well, so I like to make a double batch and freeze half. Peanut Butter and Chocolate Bars are always great to have handy when you need a sweet treat in a pinch!
To make the peanut butter flavor really shine through in these chocolate peanut butter candy bars, I added peanut butter to the chocolate layer on top of the peanut butter layer. It is peanut butter-chocolate heaven!
Chocolate Peanut Butter Bar Ingredients

You only need 5 (yes, FIVE!) ingredients:
- Butter: You can use either unsalted or salted butter in this!
- Graham Cracker Crumbs: Adds a nice crunch and holds the peanut butter layer of these bars together.
- Peanut Butter: I use creamy peanut butter in both the bars and chocolate layer.
- Powdered Sugar: Adds a nice sweetness to the bars, and dissolves really easily compared to granulated sugar.
- Chocolate Chips: I use semi-sweet chocolate chips however you can substitute dark chocolate if you prefer!
How To Make Peanut Butter Chocolate Bars
- Make the Peanut Butter layer: Secondly, add the butter, powdered sugar, 1 cup of the peanut butter, and crushed graham crackers in a large bowl and then mix well to combine.
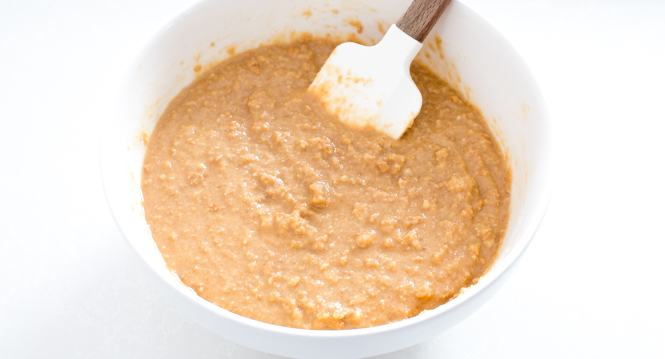
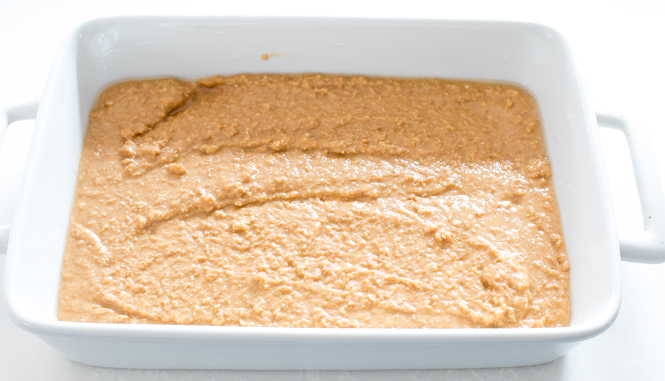
- Spread: Next, spread the peanut butter mixture in an even layer into the prepared pan.
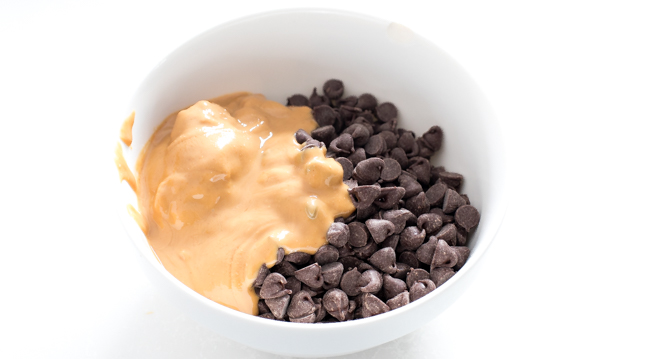
- Make the chocolate topping: Add the 1/2 cup of peanut butter and chocolate chips to a small bowl and then microwave in 15-second intervals until fully melted. Mix them well.
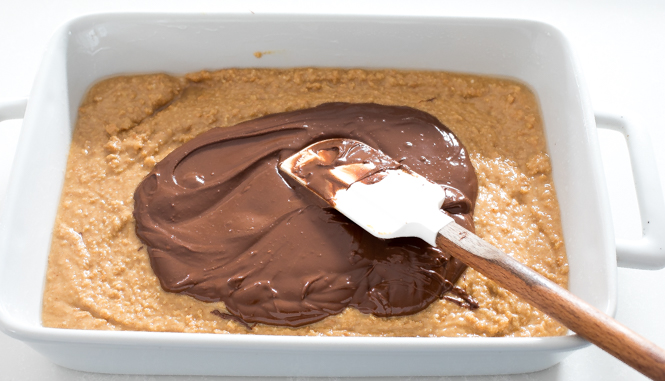
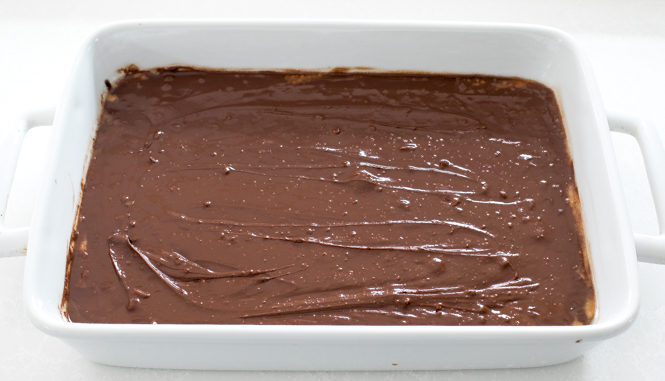
- Pour and smooth: Pour the chocolate mixture onto the peanut butter layer and smooth with a rubber spatula.
- Chill. Place in the refrigerator to firm up for an hour.

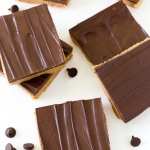
- Serve: Finally, cut into squares and enjoy!
Storage and Freezing Instructions
- Store: Store these peanut butter chocolate bars in an airtight container in the fridge for up to a week. They are so good cold they taste just like a Reese’s peanut butter cup!
- Freeze: The bars can even be frozen for up to 3 months! After they have chilled in the refrigerator, slice and place them in an airtight container, like a large plastic freezer-safe bag, and store them in the freezer. This helps with portion control as well! You can defrost one at a time instead of having a whole tray waiting to be devoured in the fridge, or enjoy them cold!

Tips and Variations
- To slice these bars I recommend running a knife under hot water before slicing. This helps slicing them into perfect squares!
- For a salty twist, top them with crumbled pretzels, roasted pistachios, or salted peanuts. You can also use unsalted peanuts or even crushed up Reeses Pieces for a pop of color!
- Not a peanut butter fan? You can swap the peanut butter in this recipe for your preferred nut butter! Almond or cashew would be delicious!
- Don’t have graham crackers? You can substitute Oreos, golden graham’s, cheerios or Biscoff cookies!

More No Bake Desserts
Save this Recipe
Enter your email to get it straight in your inbox! Plus, receive new recipes weekly!

Peanut Butter Chocolate Bars
Ingredients
- 2 sticks butter, 1 cup, melted
- 1 1/2 cups powdered sugar
- 1 cup creamy peanut butter
- 2 cups graham crackers, crushed
- 1/2 cup creamy peanut butter
- 1 1/2 cups semi-sweet chocolate chips
Instructions
- Spray a 9 x 13 pan with cooking spray. Set aside.Add butter, powdered sugar, 1 cup peanut butter and graham cracker in a large bowl. Mix to combine.

- Layer into the prepared pan.

- Add the 1/2 cup of peanut butter and chocolate chips to a small bowl. Microwave in 15 second intervals until fully melted.
- Pour onto of the peanut butter layer and smooth with a rubber spatula.
- Place in the refrigerator to firm up for an hour.
- To serve, cut into squares and enjoy!
Notes
Nutrition Information
Did You Make This?
I’d love to hear your feedback! Leave a review and make sure to share your pictures on social media! Don’t forget to follow @thechefsavvy.


Barb
So much less fuss than making chocolate dipped peanut butter balls!!!
Kelley Simmons
So true! So glad you enjoyed these Barb!