
Granola Cups take on-the-go breakfast to a whole new level! Featuring crunchy homemade granola baked in a muffin tin and all of your favorite toppings! This Granola Yogurt Cups are perfect for meal prep and are kid friendly!
If you like this recipe then you will love my Chocolate Protein Balls or my Peanut Butter Granola!

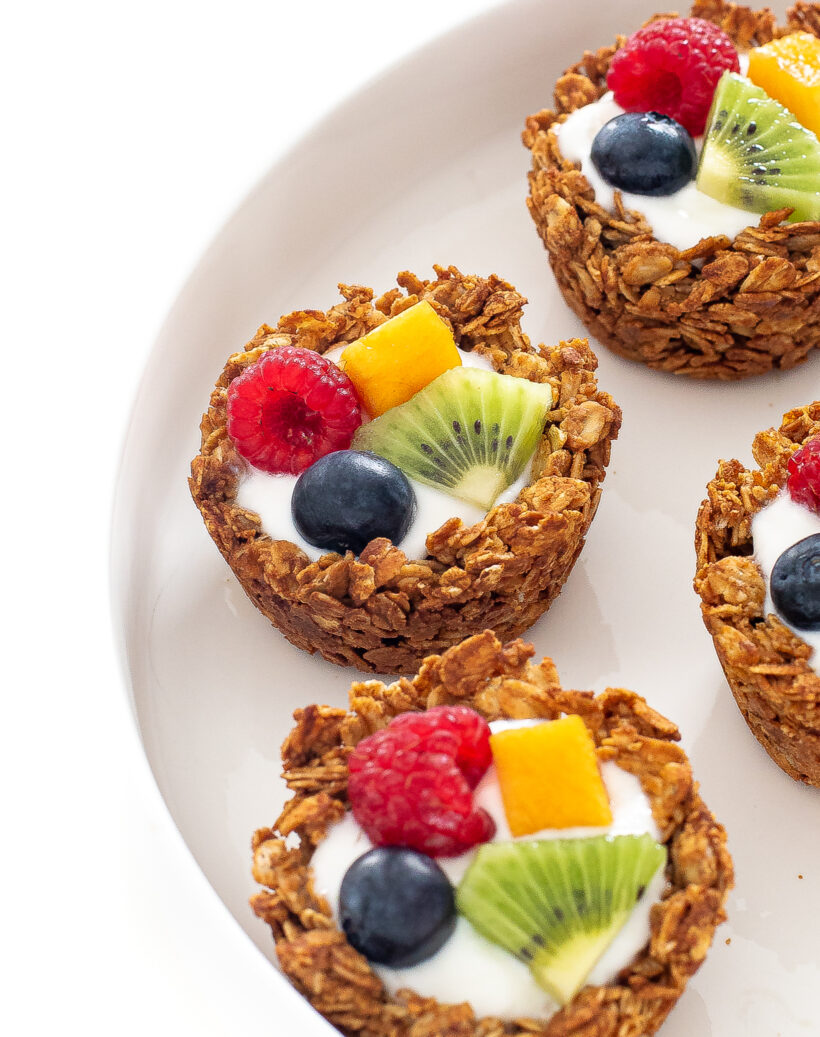
Chewy and crunchy homemade granola cups are one of my favorite go-to breakfast options! I love making my own homemade granola, and these granola cups are no different. Instead of baking the granola on a baking sheet, you will bake it in a muffin tin to make adorable little cups!
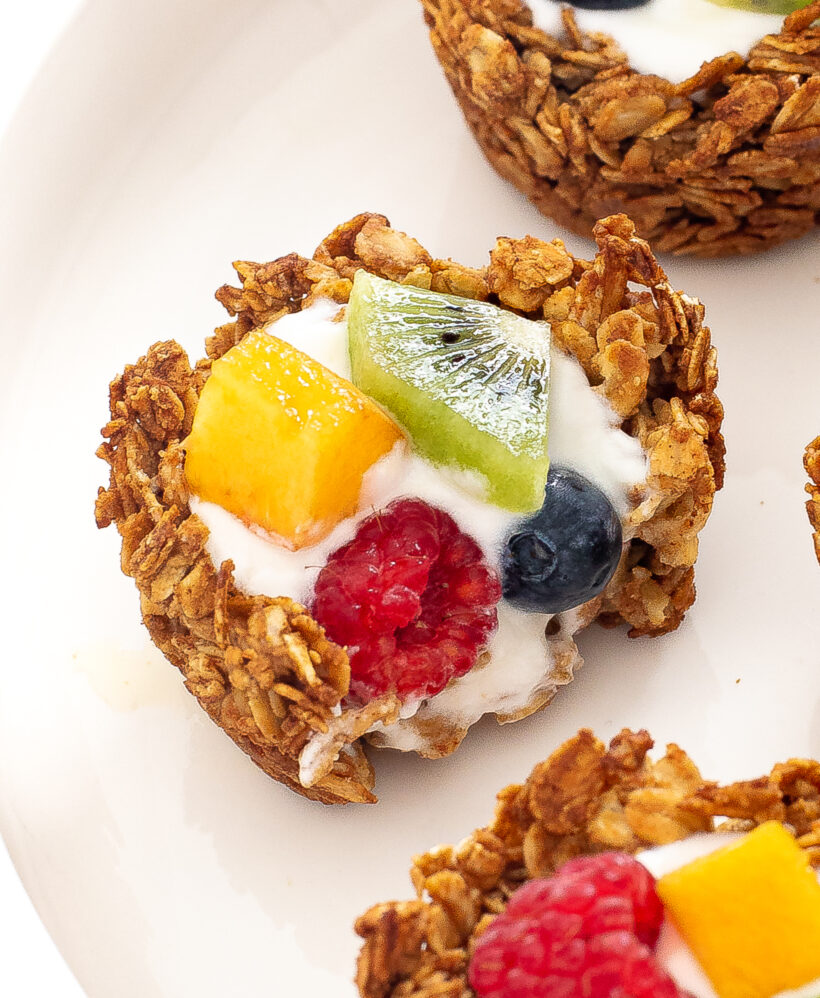
These muffin tin granola cups can be filled with all of your favorite toppings. I topped mine off with yogurt and fresh fruit to make handheld yogurt parfaits, but you can top it off with nut butter and chocolate chips or even bananas! The possibilities are endless.
If you like this recipe then you’ll love my Energy Bites or my grab and go Granola Cookie Recipe!
Ingredients Needed
- Old-Fashioned Oats: Old-fashioned oats work best in these granola cups because they hold up well and can be cooked in the oven pretty quickly!
- Creamy Peanut Butter: Peanut butter helps the oats to stick together and adds flavor and extra protein! You can use any creamy nut butter here if you prefer.
- Honey: Honey will set these granola cups in place while adding a hint of sweetness! You can also use maple or agave syrup.
- Vanilla Extract: For extra flavor.
- Cinnamon: I like to add cinnamon for some added flavor here!
- Salt: A little bit of salt helps to balance all of the flavors.
How to make Granola Cups
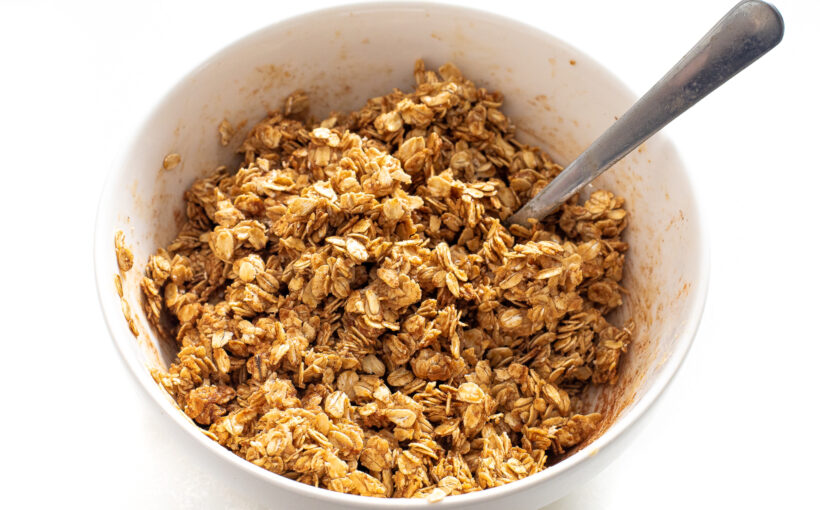
- Mix Granola: In a large bowl, combine oats, peanut butter, honey, vanilla, cinnamon and salt.
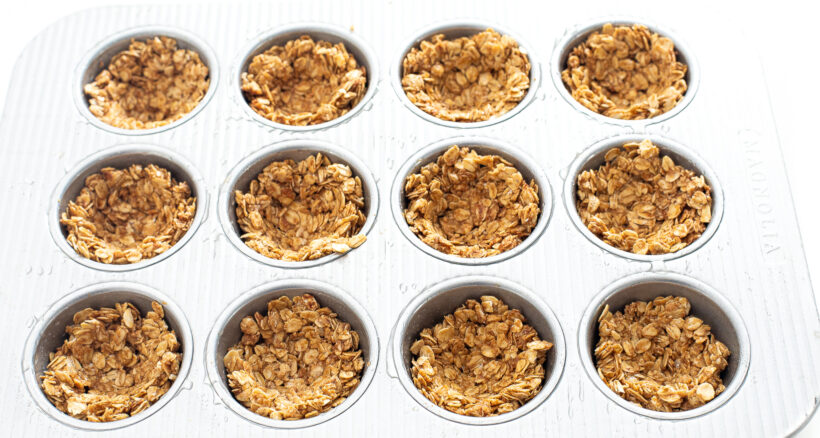
- Fill Muffin Tin: Divide the oat muffin mixture between the prepared muffin tin then make a well in the center of each muffin tin with the back of a tablespoon. It helps to spray the bottom of the tablespoon with nonstick spray to keep the oat mixture from sticking!
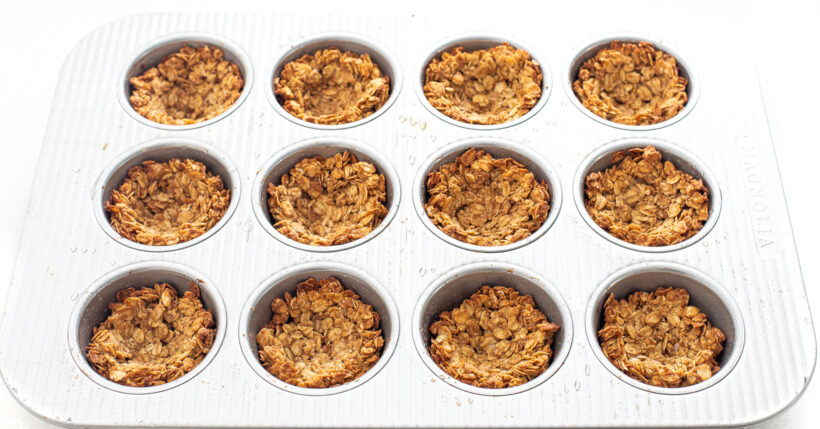
- Bake: Place in the oven for 15 minutes or until they start to get golden brown. Remove from the oven and let them cool in the muffin tin for 5 minutes before using a butter knife to remove them from the pan to continue cooling.
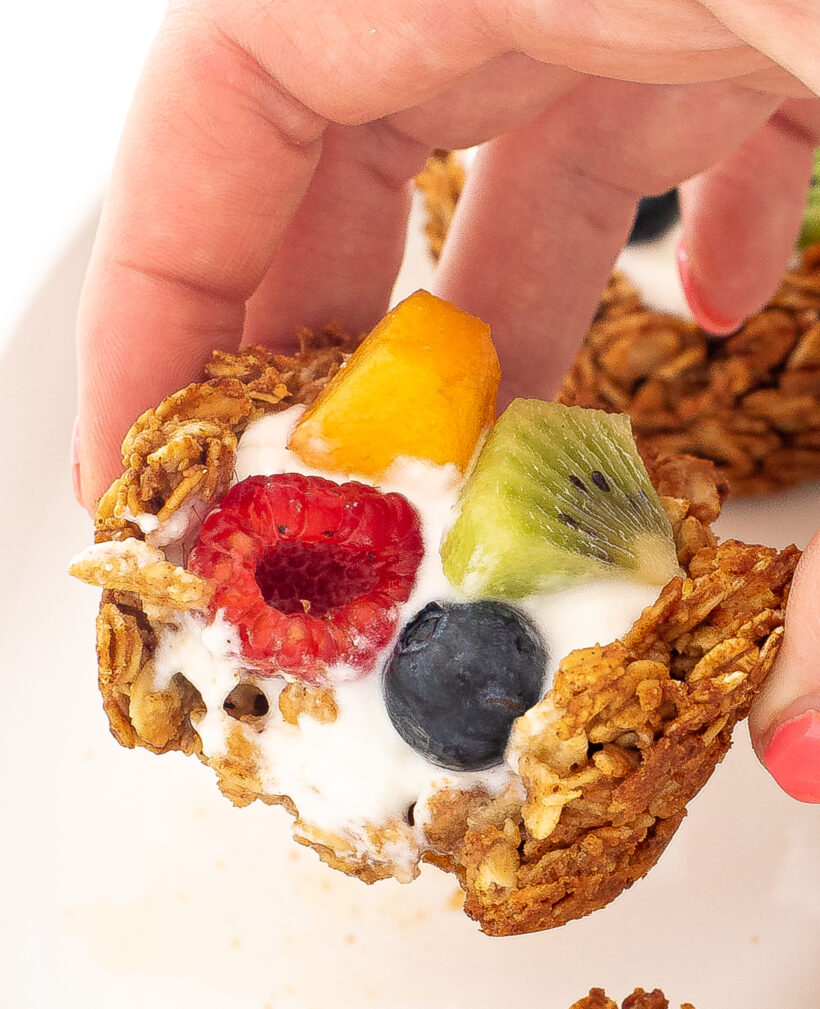
- Assemble: To assemble these, spoon your favorite yogurt into each granola cup along with your favorite fruit! Enjoy immediately! I recommend adding yogurt into the cups as you plan to eat them. The granola cups will get softer the longer they sit out with yogurt in them.
Tips for Success
- Add extra ingredients! You can make these granola cups your own and add things like flax seeds, chia seeds, shredded coconut or dried fruit! Avoid large ingredients like large nuts since they can’t be easily shaped into the cup form. Instead, use those as toppings!
- Allow cups to cool before assembly! To make sure these cups are sturdy and won’t fall apart, make sure that they cool completely before assembling!
- Make a double batch if you have a crowd to feed, or freeze half for later!
Frequently asked questions
What toppings should go in these granola cups?
These granola cups can be topped with a simple plain yogurt and fresh fruit like raspberries, blueberries, strawberries, kiwi, mango or bananas! You can also use any flavored yogurt if you prefer. Or try topping it off with a spoonful of nut butter and some chocolate chips for a sweet treat!
How should I store granola cups?
To store, place in an airtight container at room temperature for up to 1 week. Assemble with toppings as you plan to eat them. You can also freeze them in a freezer safe container for up to 3 months!
More Easy Granola Recipes to Try
- Chocolate Chip Granola Bars
- Coconut Pecan Granola
- Maple Pecan Granola
- Peanut Butter Chocolate Chip Granola
- Mini Fruit Tarts
- Pumpkin Granola
Save this Recipe
Enter your email to get it straight in your inbox! Plus, receive new recipes weekly!

Granola Cups
Ingredients
- 3 cups old fashioned oats
- 1/2 cup creamy peanut butter
- 6 tbsp honey
- 2 tsp vanilla extract
- 2 tsp cinnamon
- 1/4 tsp salt
For Serving
- yogurt
- fresh fruit
Instructions
- Preheat oven to 350 degrees. Grease a muffin tin with nonstick cooking spray and set aside.In a large bowl combine oats, peanut butter, honey, vanilla, cinnamon and salt.
- Divide the oat mixture between the prepared muffin tin then make a well in the center of each muffin tin using the back of a tablespoon.*It helps to spray the bottom of the tablespoon spoon to keep the oat mixture from sticking*
- Place in the oven and bake for 15 minutes or until they start to get golden brown.Remove from the oven and let them cool in the muffin tin for 5 minutes before using a butter knife to remove them from the pan to continue cooling.
Assemble
- To assemble these spoon your favorite yogurt into each granola cup along with your favorite fruit!Enjoy immediately! I recommend only adding yogurt to the cups you plan on eating. The granola cups will get soft the longer they sit out with yogurt in them.
Nutrition Information
Did You Make This?
I’d love to hear your feedback! Leave a review and make sure to share your pictures on social media! Don’t forget to follow @thechefsavvy.

Alexandra
These were really good but how long will they stay fresh for and do they need to be refrigerated?
Kelley Simmons
Hi!
I store these at room temperature for up to a week! I recommend popping them in the air fryer or oven for a couple minutes to retoast them because they tend to get soft as they sit.
Glad you enjoyed them!
Kelley
Valerie
Really like the granola but I would highly recommend baking these in silicon cupcake wrappers. They are too brittle to come right out of the pan using the knife technique. Nearly all of mine crumbled completely even though I coated the pan but the taste and crisp is great!
Marcie
HI, I think this recipe is very cool. How do you come up with these? I want to make my own recipe but don’t know how. Do you have any tips?